Canva is a great online tool for people who want to design flyers and cards. It is however important to know of its limitations and how to setup the file correctly.
The most important aspect of quality printing, are:
Setup
Make sure the artboard size is correct and that you have 'bleed' showing. Checking the notes on page 1
Design
Be wary of colour usage, make sure you have important elements within the 'safe area' and artwork bleed.
Supply
Always supply as PDF with cropmarks and bleed. It is alos a good idea to 'share' the file with us.
Professional Printing with Canva
We have a pro Canva account which allows us to export files in CMYK.
This does not allow CMYK colour use when designing, rather converts colours when exporting.
Hex and RGB are not used in printing, so we only look at CMYK.
Warning Summary
Canva is great for those that don’t want to spend years studying Graphic Design or thousands a year in software. It has a plethora of designs / elements and largely easy to use, however it does come with limitations.
- RGB workspace: Print is CMYK workspace - colours can change dramatically
- Limited Artboard Size: Canva's maximum artboard size is 8,000 x 3,125 px..
This equates to 2,116 x 827mm - Importing vector elements: It can be done, but CAN be a pain getting to required size
Supplying Canva Files
Note, after your artwork has been shared with us, all required edits must be done at our end as Canva is no longer used to make your artwork 'print ready' .
It is recommended to be descriptive when naming your Canva file. For example if you have a business card with foil stamping “ business name – foil business cards”.
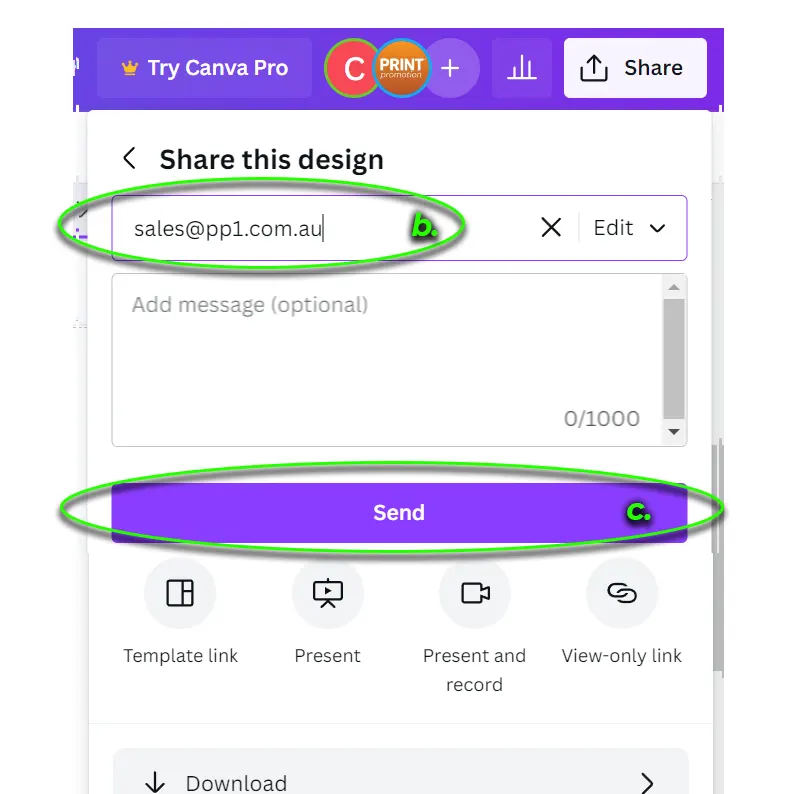
- Click ‘share’ button on the top right of the screen
- Under 'Share this design', and enter our email address
- Click the 'send button and we will receive the file.
Alternatively, you can also copy the link and send it through to us via email or in an order. Please note you will need to:
- Under ‘ link sharing restricted’, change from ‘Only people added’ to ‘anyone with the link’ - alternatively, add our email address = sales [at] pp1.com.au
- Press 'copy link'
- Click the 'send button and we will receive the file.

If sending us Canva artwork, you will have the options:
-
We print ‘as is’ - and run the gamble of print quality
or: - We ‘fix’ the artwork to make it print ready.
This requires you to 'SHARE' the canva file with us
and potentially requires you to also send us:- all photos used
- graphical elements (such as logos) – these should be in vector format
- fonts used (if you require any changes made to text )
PDF Export Warnings!
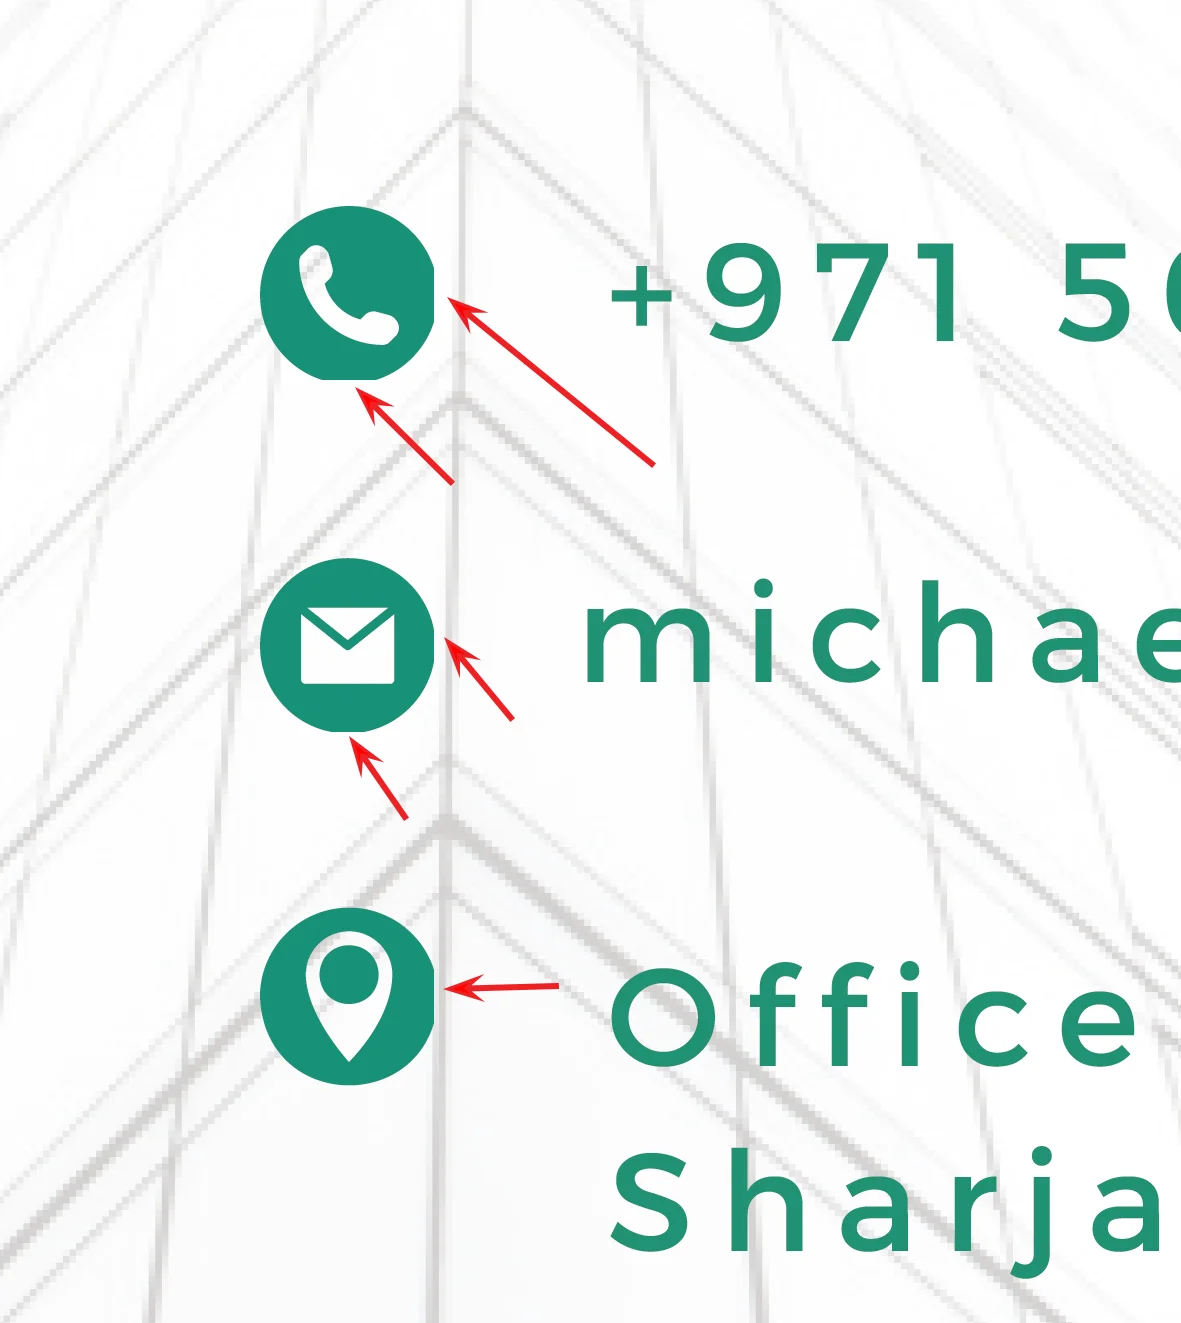
Warning - check the exported PDF file to see if elemets have been cropped!
Some elements, especially smaller elements such as contact icons ( such as phone, web etc) may crop.
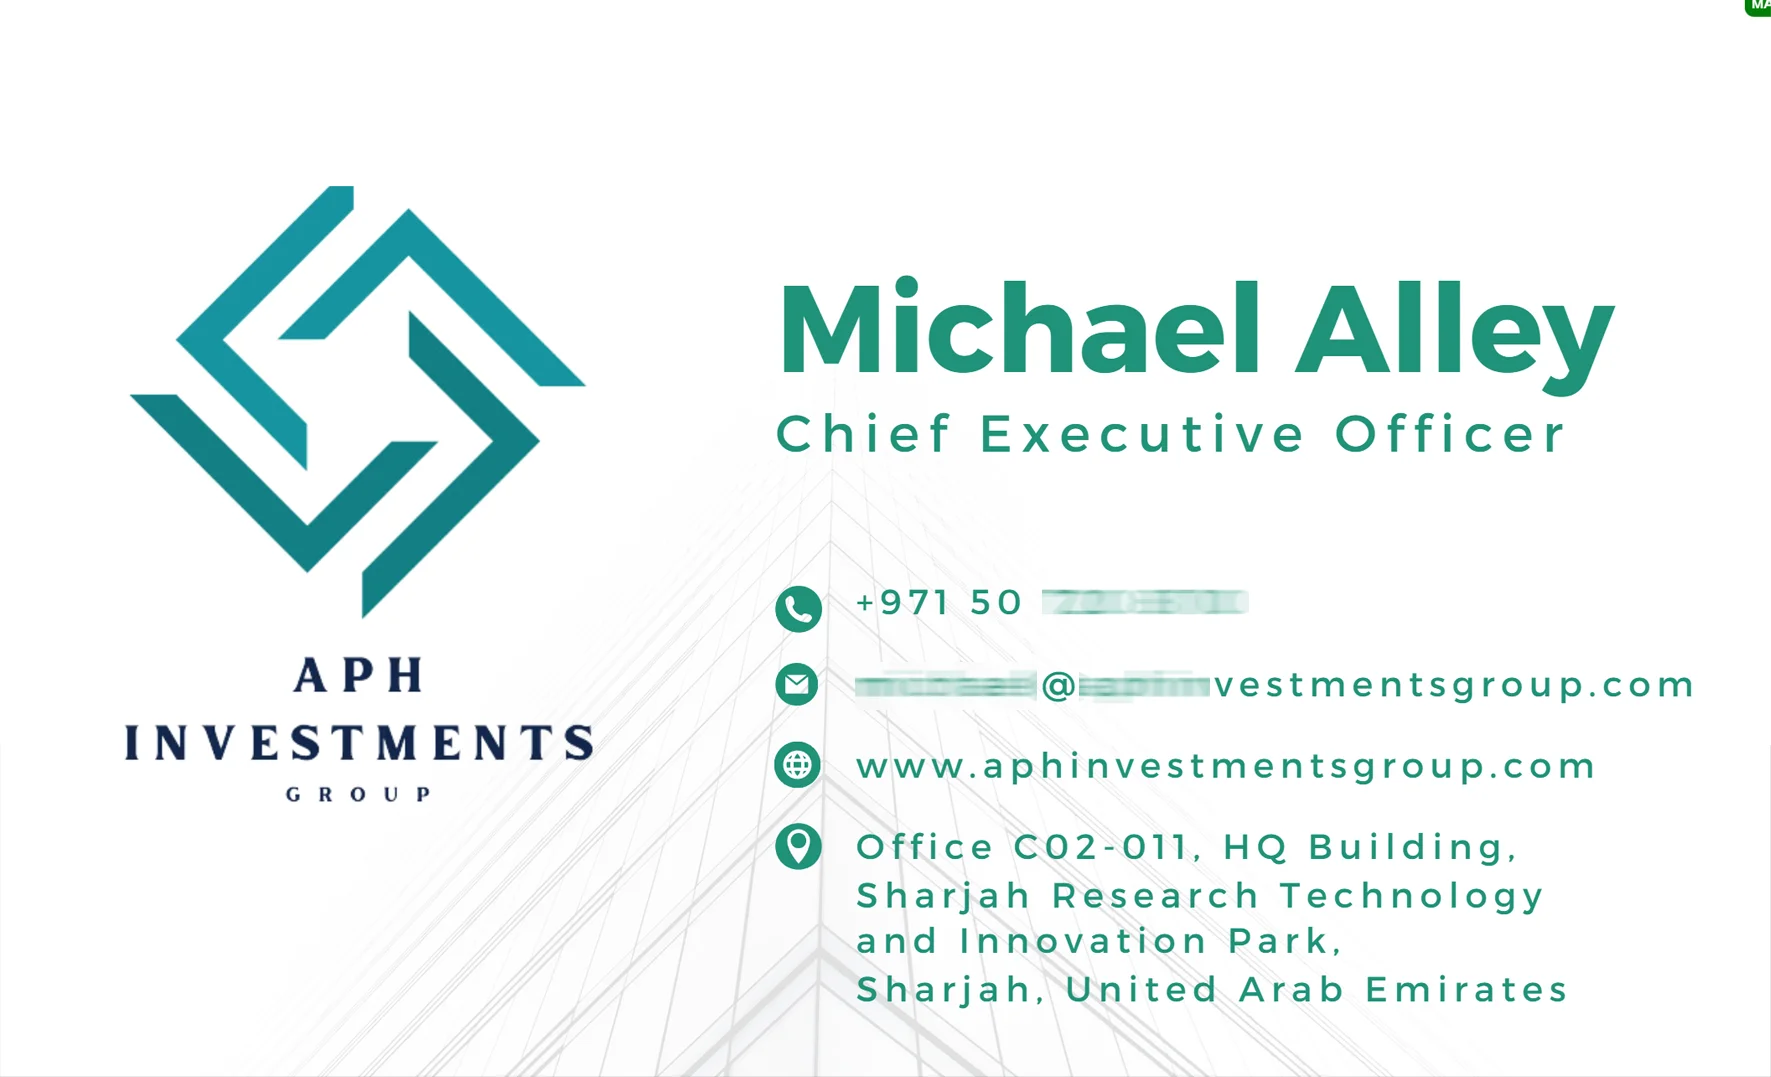
Check out this example:
Here is the original Canva file:
...and here is the exported PDF.
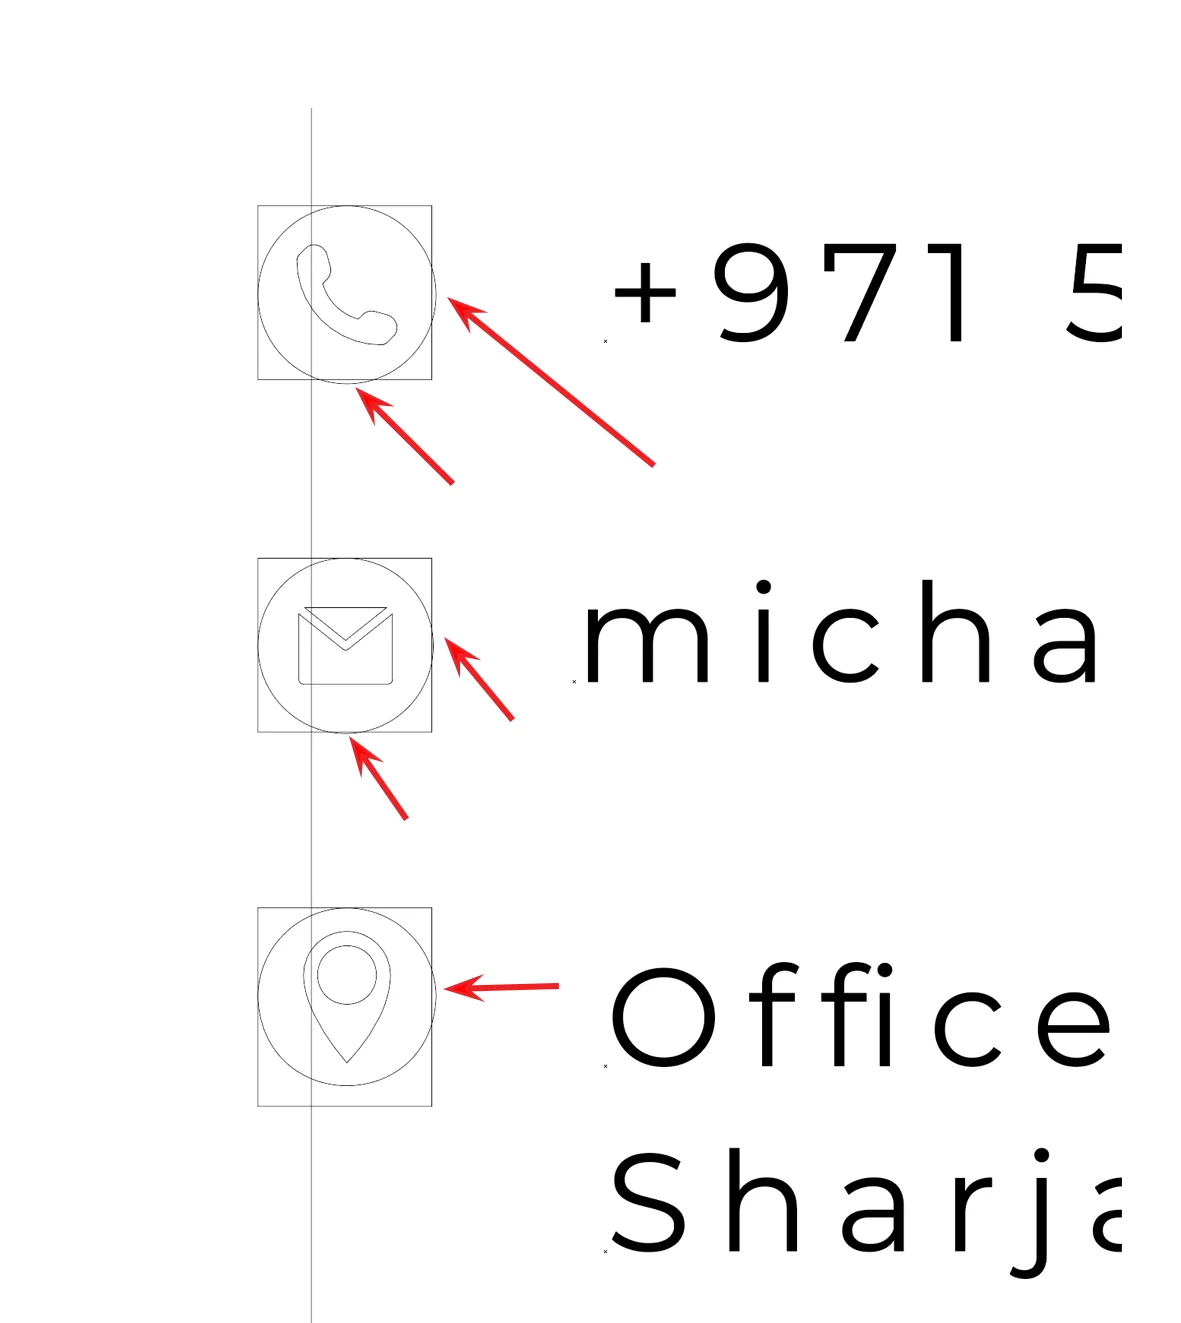
If this happens, we need to open the artwork in Adobe Illustrator, and edit the bounding box (make larger to prevent the cropping).
This 'outline view' shows the bounding boxes for these artwork elements.. notices the cropping..
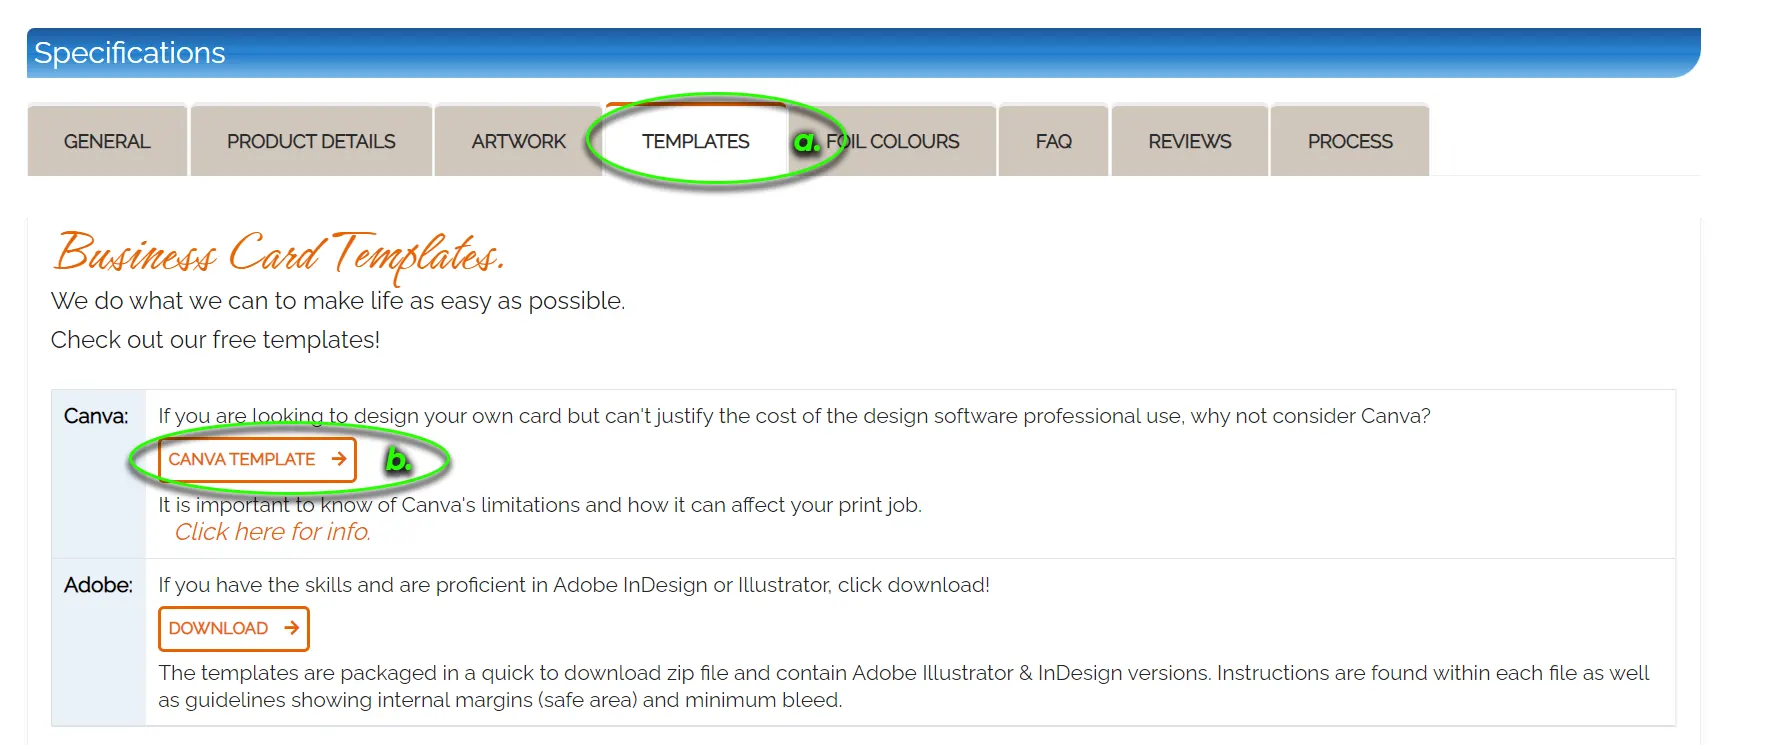
Using our Templates
On each of our product pages we have templates for Adobe (Illustrator and InDesign) and for Canva.
These can be found by going to the ‘templates tab’.
For Canva, simply click the link to be directed to the product specific template in Canva. The first page will contain notes as to the products trim size, required bleed and safe size. It will also note additional product specific artwork notes including print finishing requirements.
Setting up your own document
For this example, we will be using an A4 flyer.
- Click ‘create a design’ button
-
Click ‘custom Size’ button
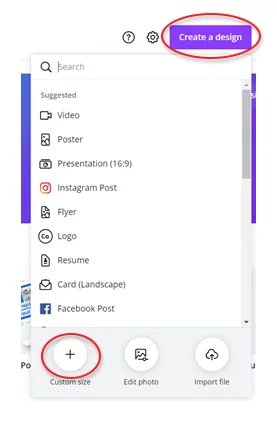
- In the Custom Size box, first change to mm
- Enter width: 210 & height: 297
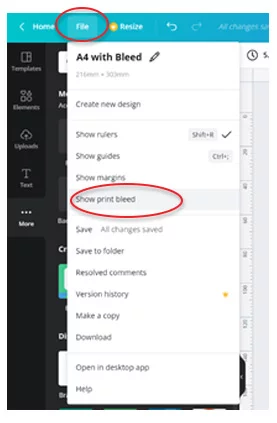
-
Show print bleed (File > Show print bleed)
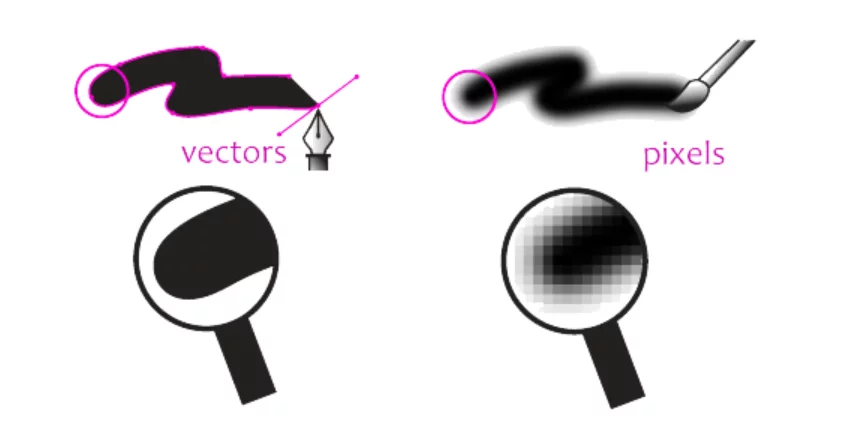
Design with Vector
Remember to use elements vector if possible.
‘Vector’ artwork allows modifying of artwork without compromising it. It also allows scaling it without loss of quality.
(note: 'Fonts' are created with vector artwork)
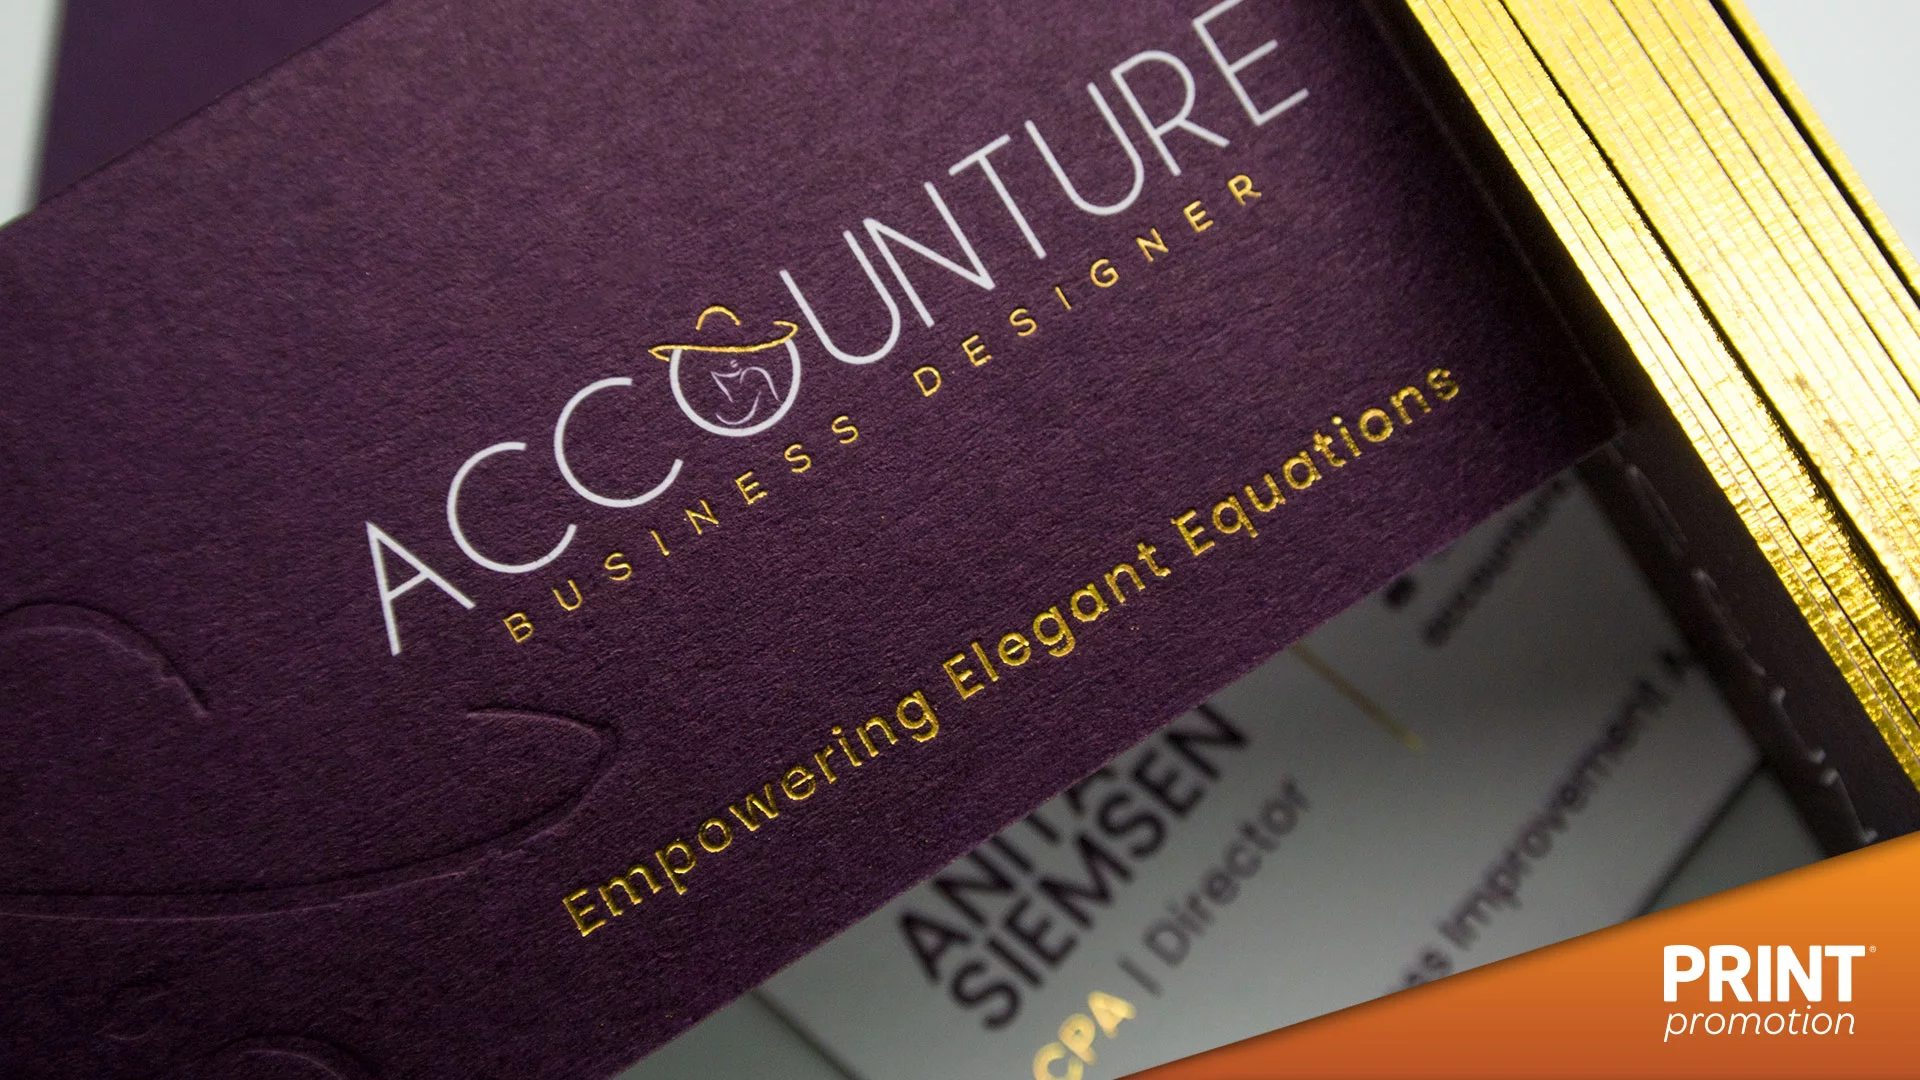
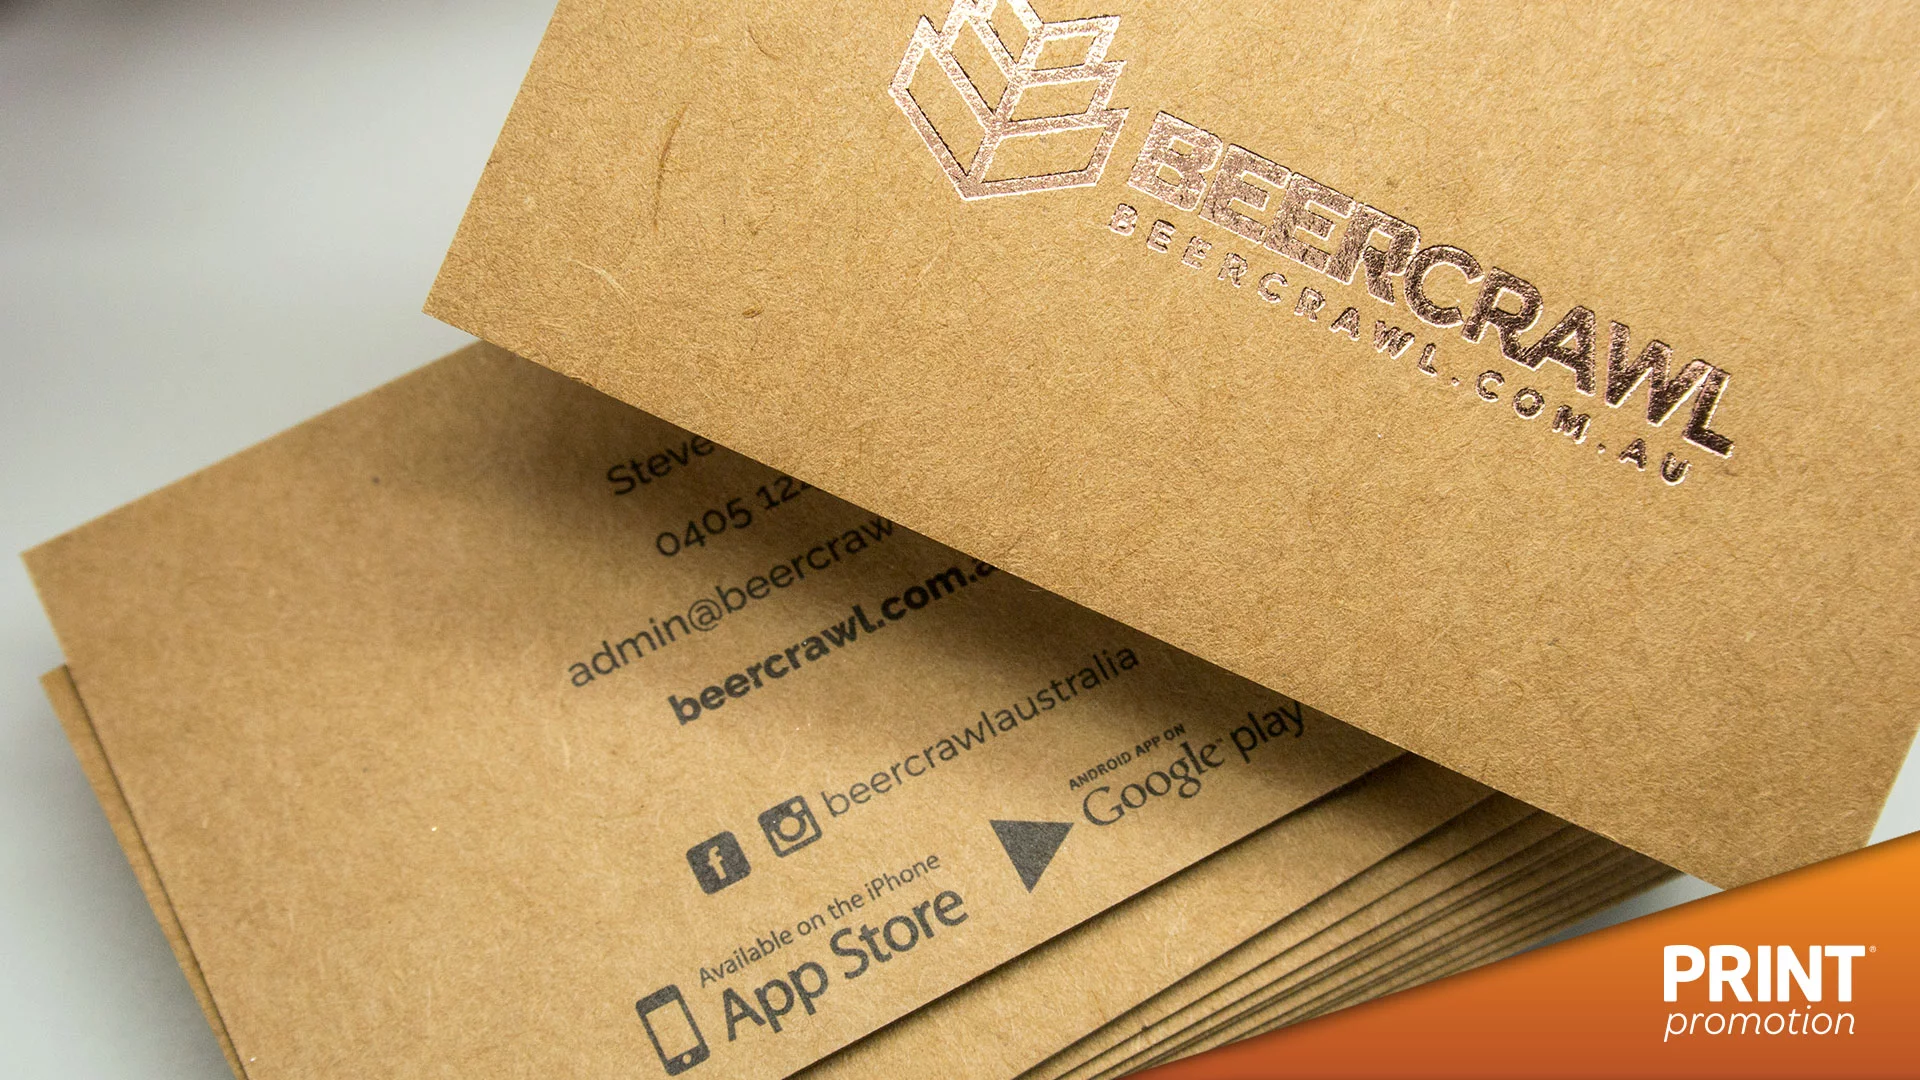
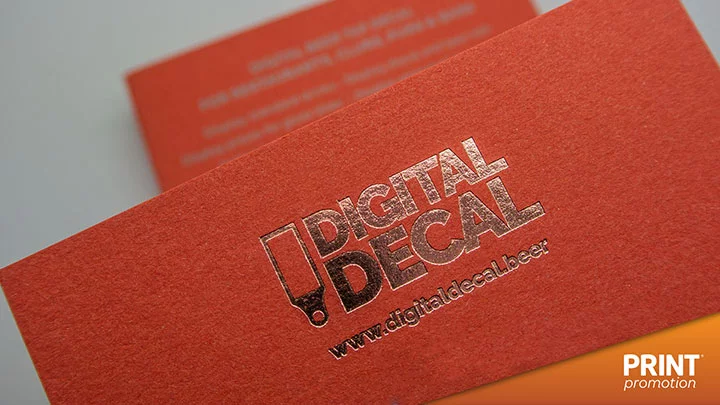
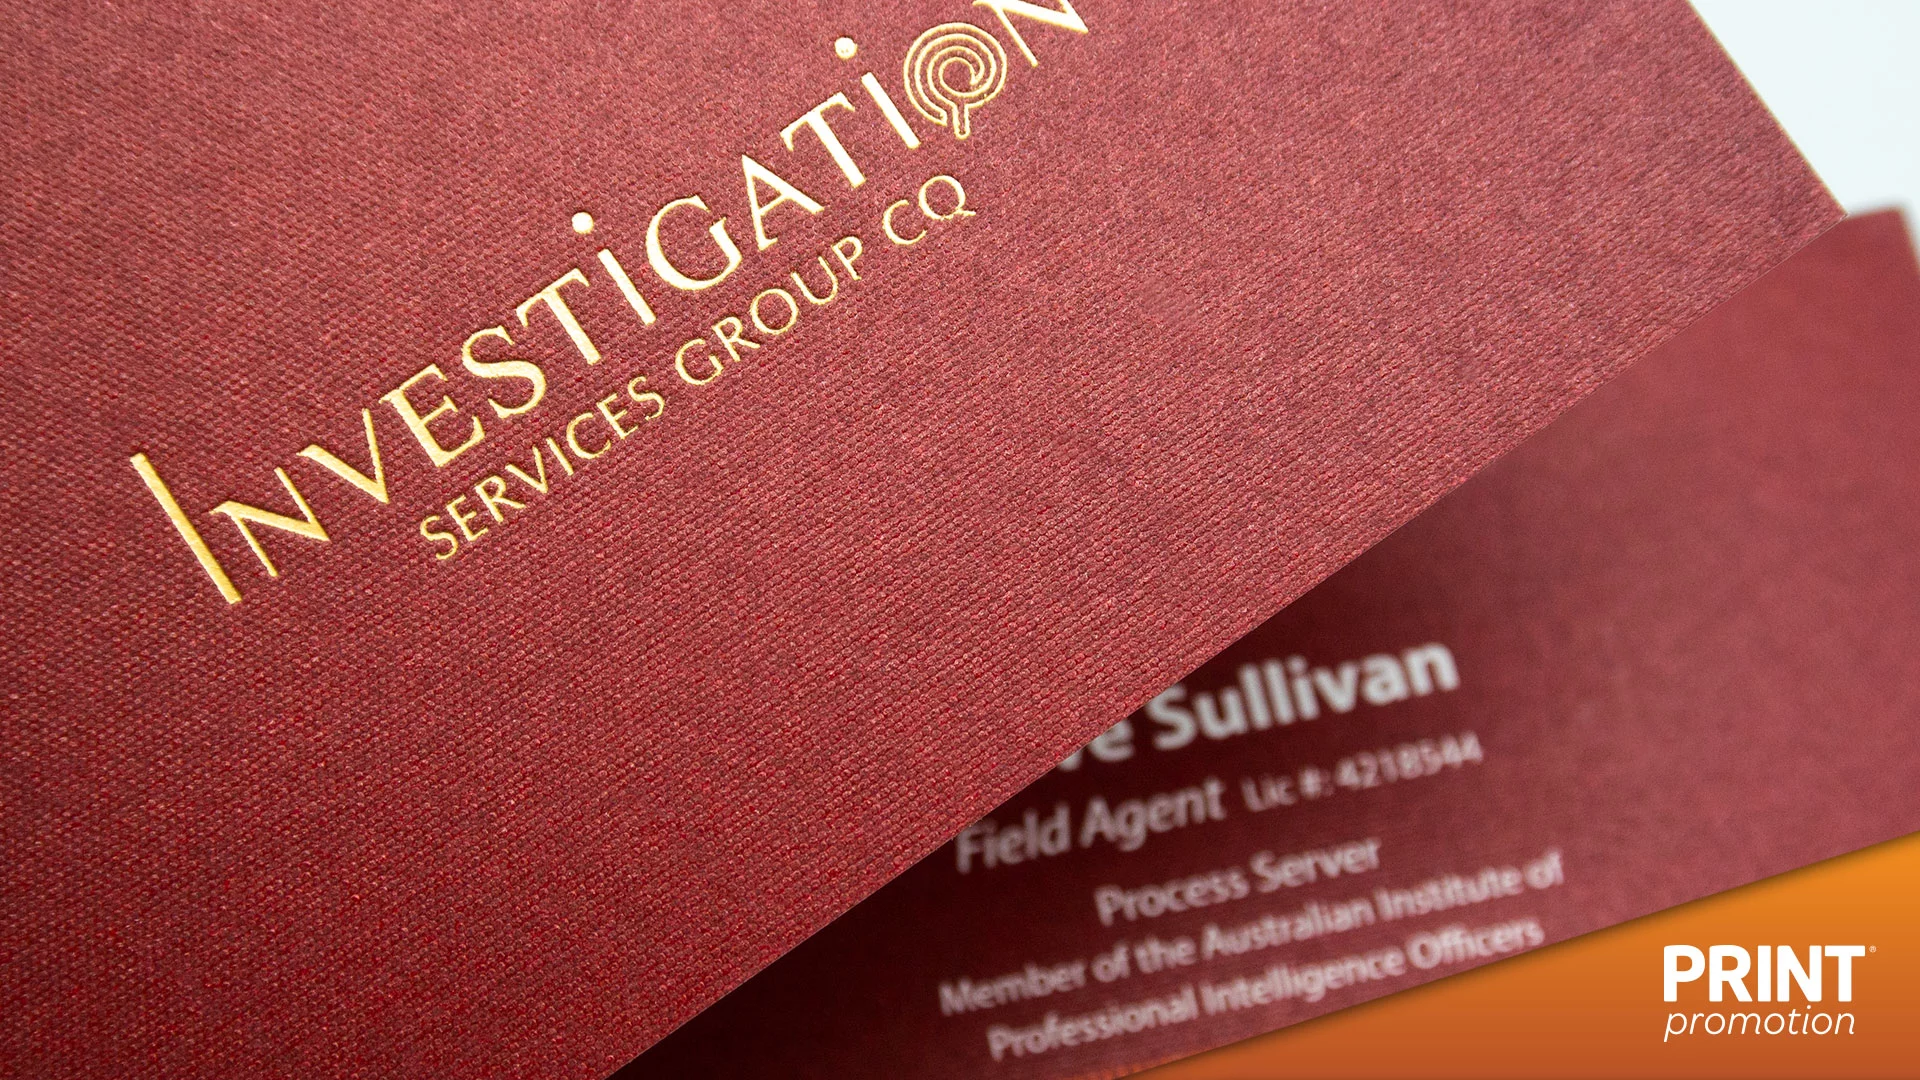
It is important to note, that if you want a product with ‘print finishing’ (spot UV, Foil stamping, Embossing etc ) ‘Vector’ / editable artwork is required.
Vector artwork can be used in the following external file formats:
- .SVG
- .AI
- .EPS
This does not mean artwork in these files are made in vector, rather these file formats support it.
The following file types are incapable of containing vecore artwork:
- .JPG
- .GIF
- .PNG
So how do you tell if artwork is made with vector?
Say for example you have a .PDF document, if you zoom in to 6,000% and it pixelates, it is NOT vector. If you see it ‘redraw’ itself, it IS vector.
The good news is vector element can be imported / pasted into Canva.
You can read more about what vector artwork is here
Elements library
One of the great things about Canva is the ‘clip art’ library it offers. The problem is that elements are not groped into classifications. Videos, audio ‘bitmap (bmp) art and ‘vector’ (editable) art are all thrown in together. You can search for “vector” but will find many results require a ‘premium’ subscription (at the time of writing this article, is cost is $165 per year ).
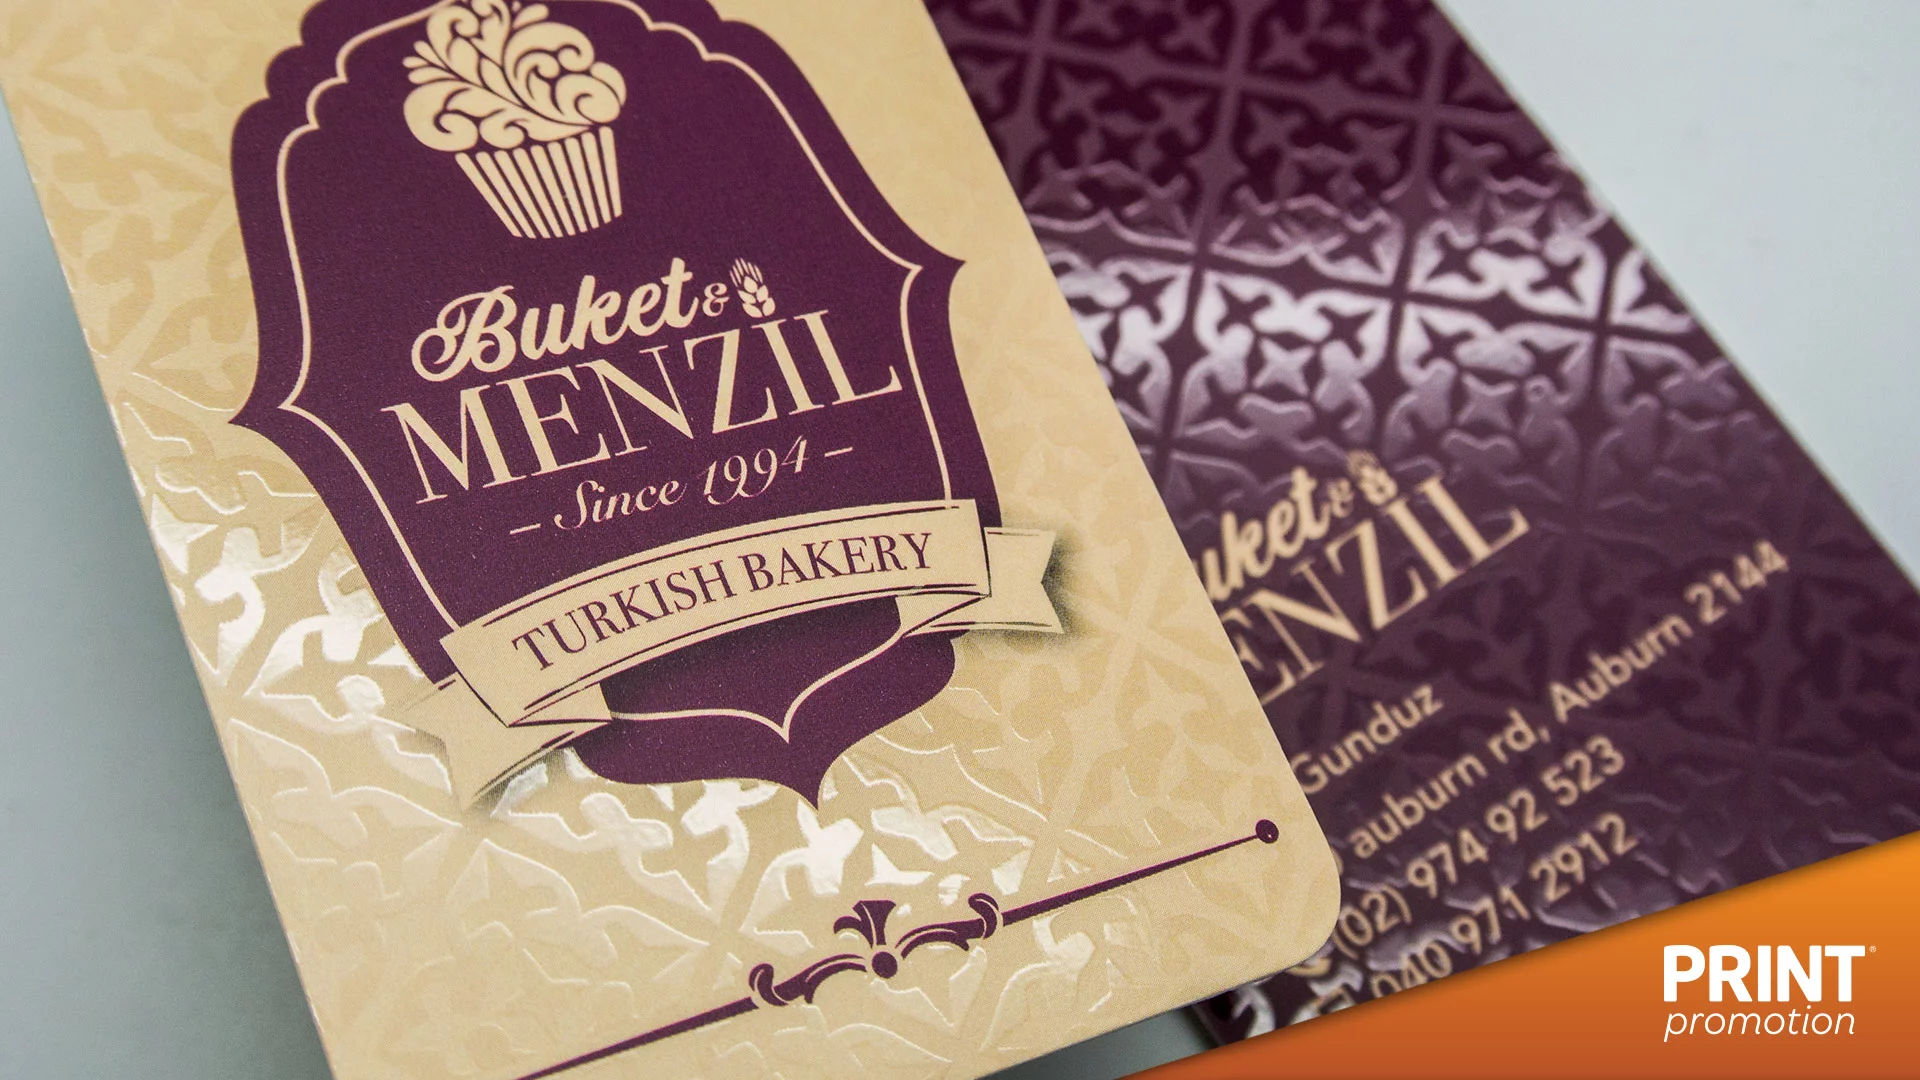
In this example, say you are a florist and want a business card with Gold foil stamping.
- Click ‘text’ add your business name and assign the font
- go to ‘element tab’
- select an image of flowers and place on the page
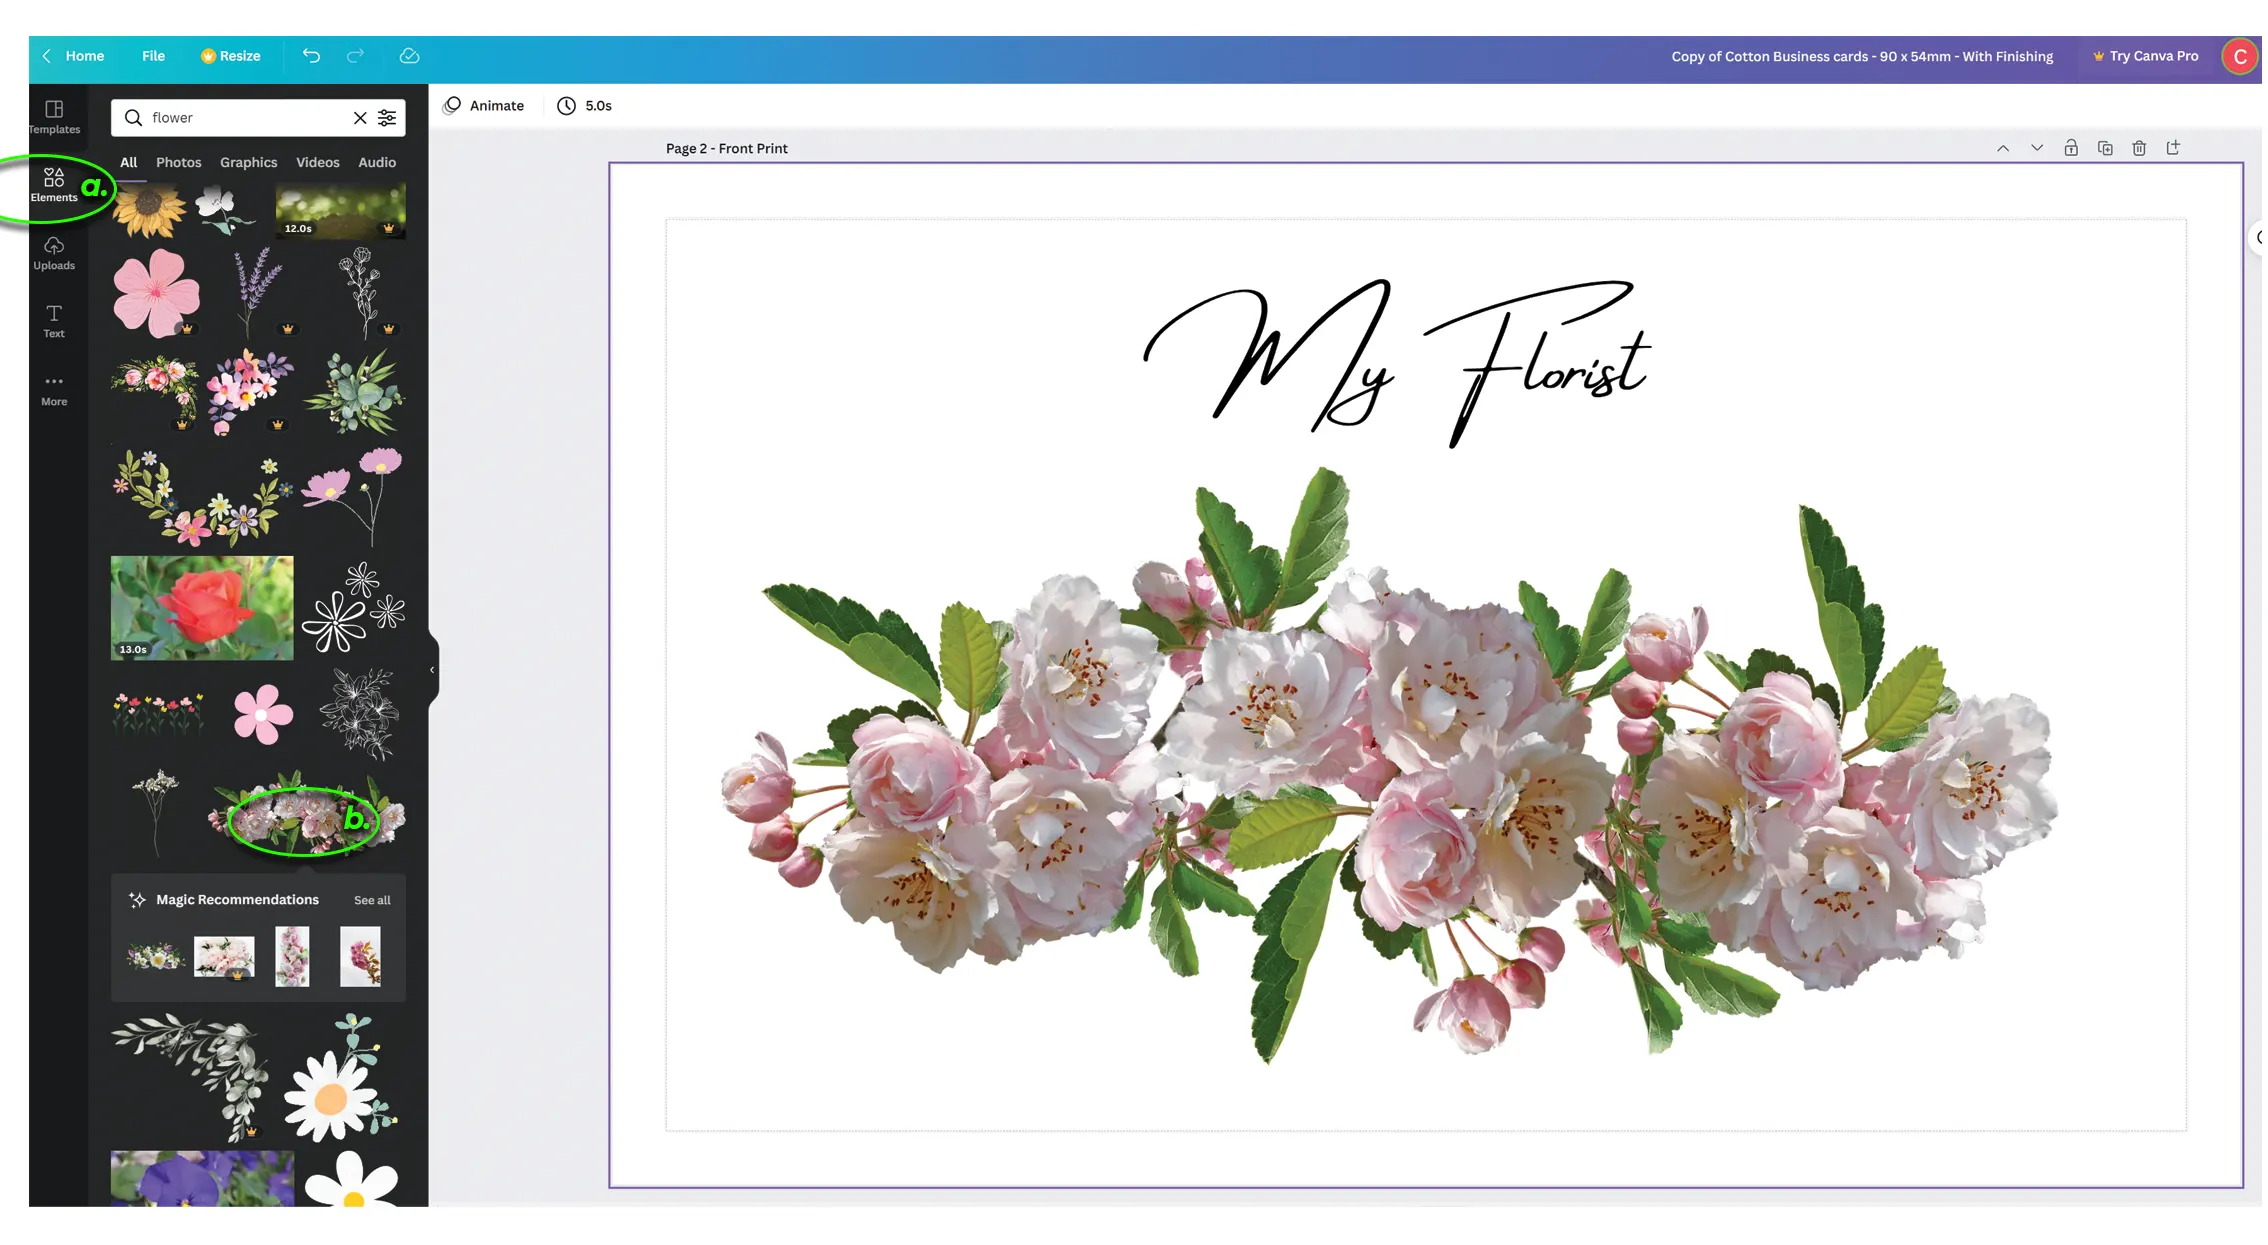
- Select the placed image
- Click ‘edit image’
- Note the ‘Adjust panel’
This panel provides modifying properties to the image, however we cannot select elements of the image to assign a color to it, or change the line thickness of its outline for example.

So in this example, the only thing we could foil stamp woudl be the text 'My Florist' because it is the onl element that is 'vecotor / editable'.
So what can we do?
We can look for other vector artwork. This time we look for something more plain.
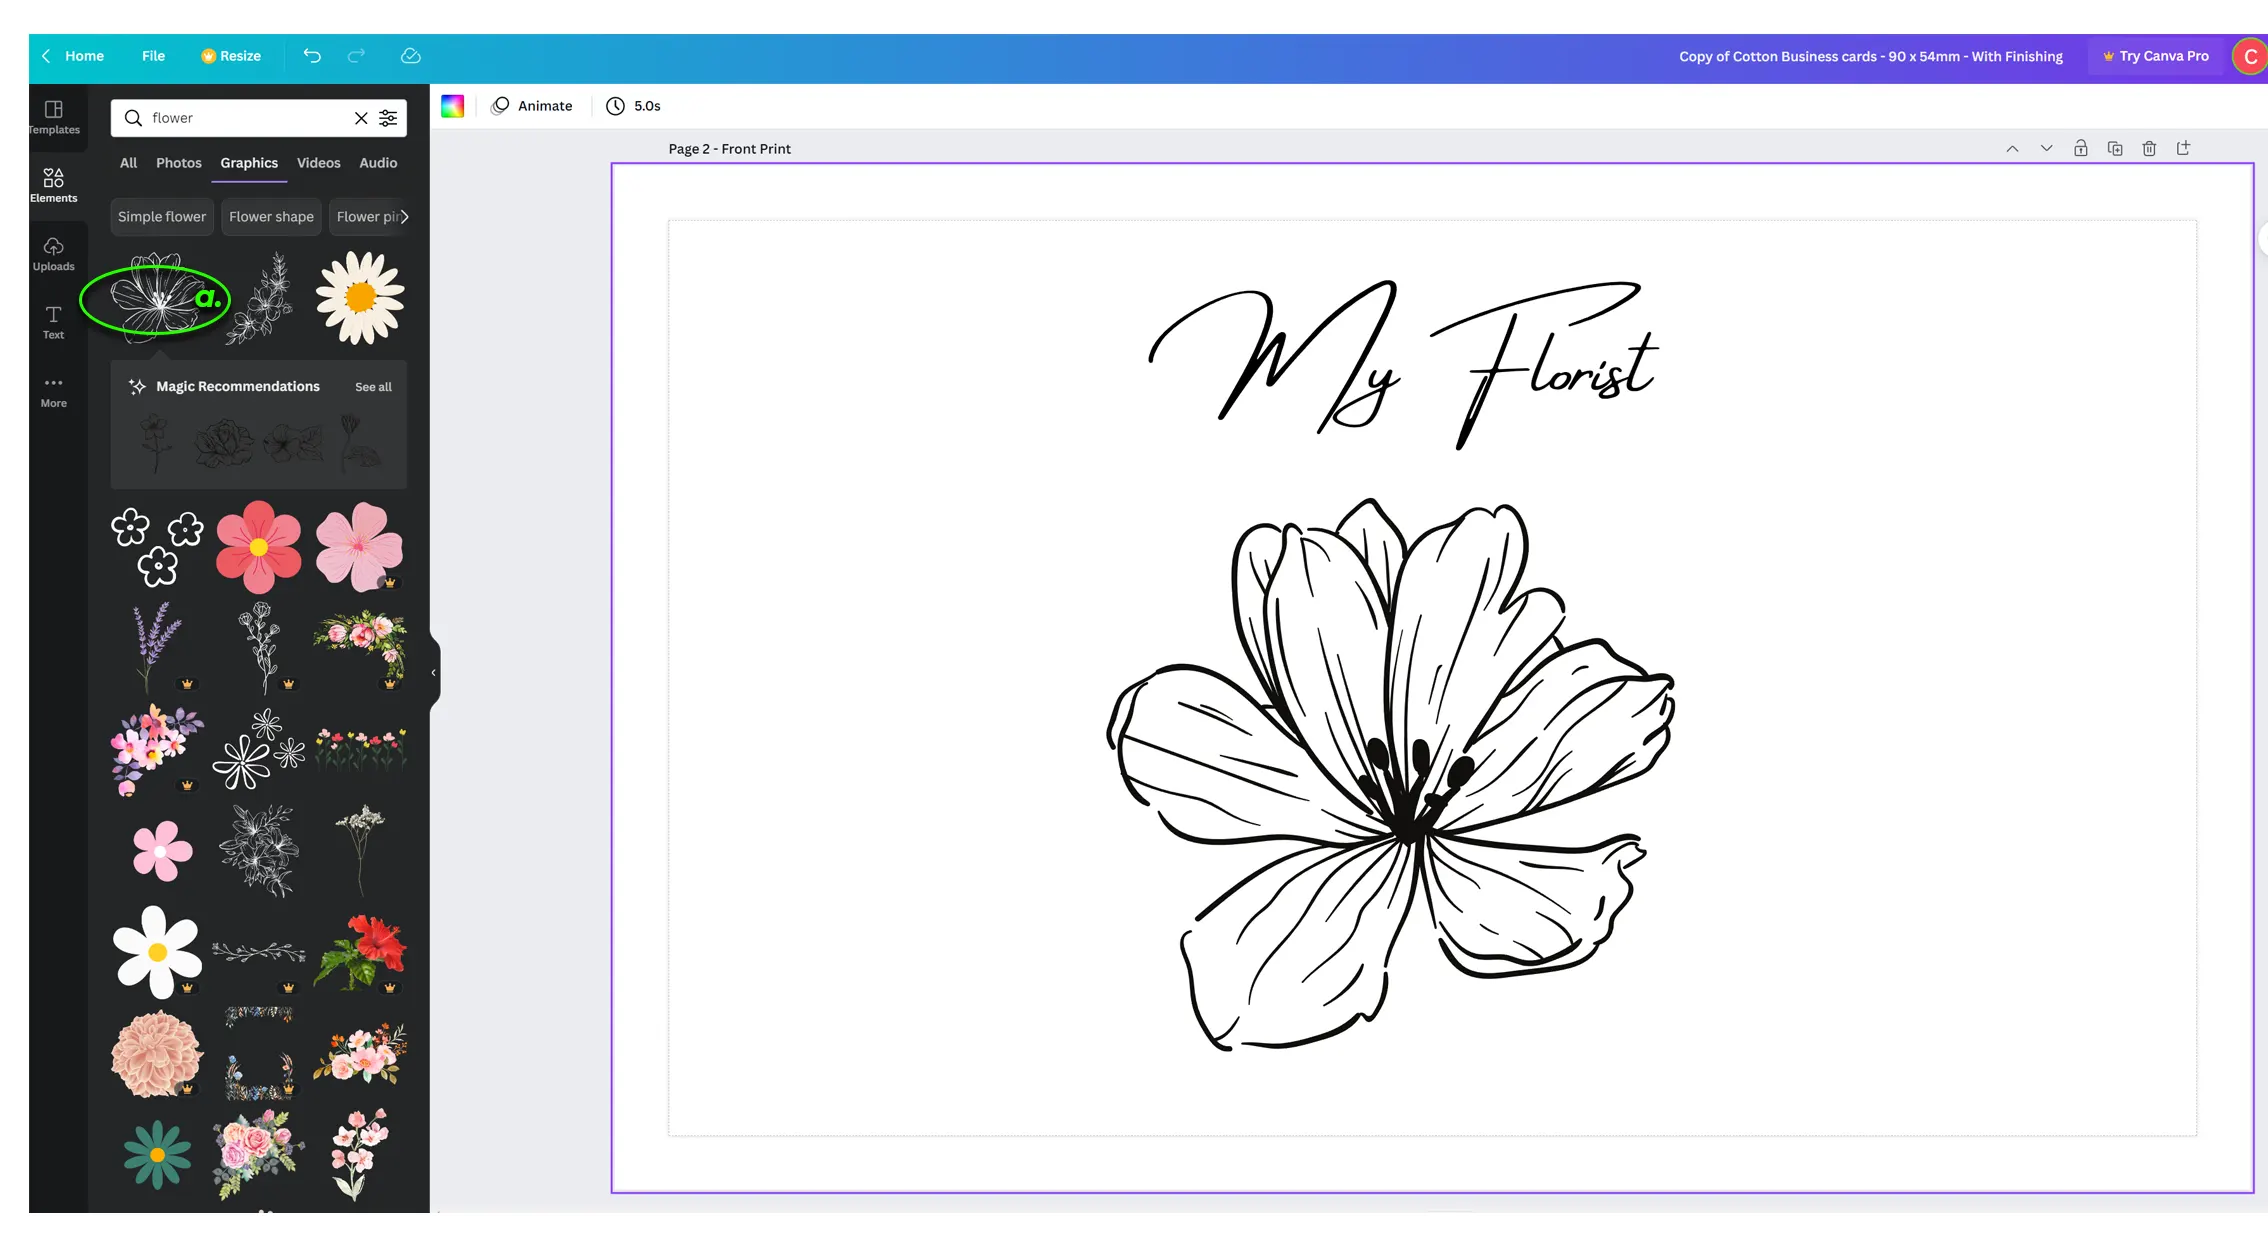
- Select the newly placed artwork
-
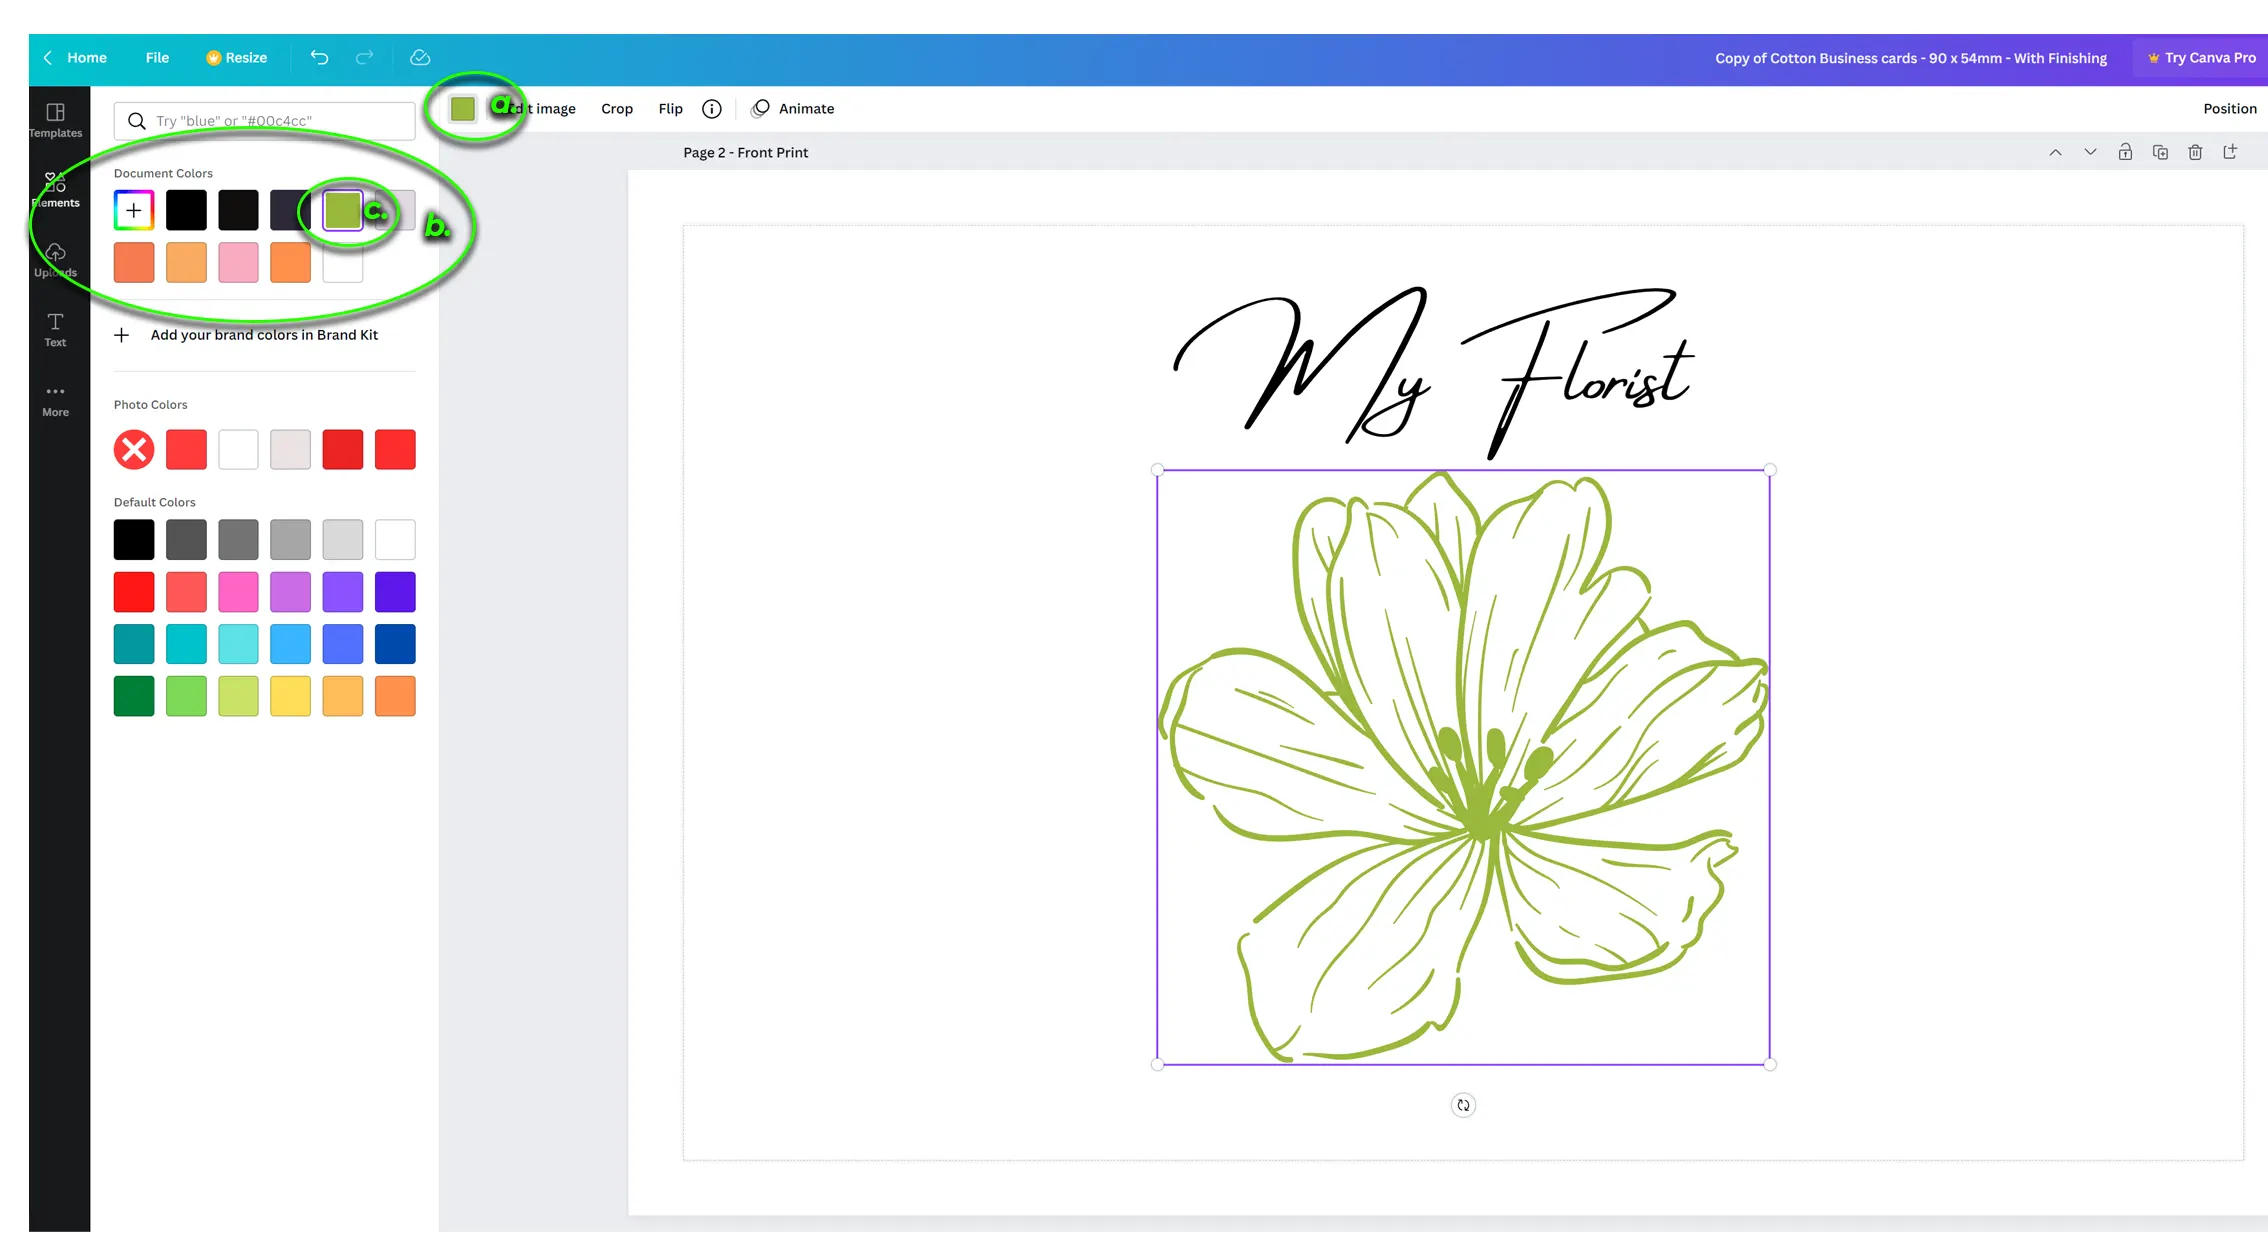
You will see a colour swatch next to ‘edit image’ > click it.
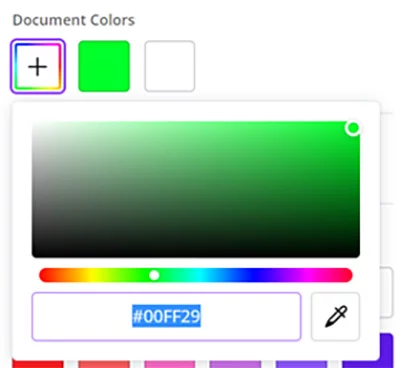
Now you will see ‘document colours’ panel on the left. - Click a different colour
You will now see the artwork has changed colour. This shows that the artwork is vector and ‘ editable’ .
This means it can be used for print finishing (such as foil stamping, spot UV or embossing).
Print finishing requires a 'single colour' (spot swatch) to be assigned to it so a 'printing plate' or ' block' to be made.
Colour usage
Canva uses the colour mode RGB (Red Green Blue) – this is ‘screen’ mode colouring.
Printing uses CMYK (Cyan, Magenta, Yellow, Black)
In this example, we will make background colors to show you how printing variances occur
We have added three boxes
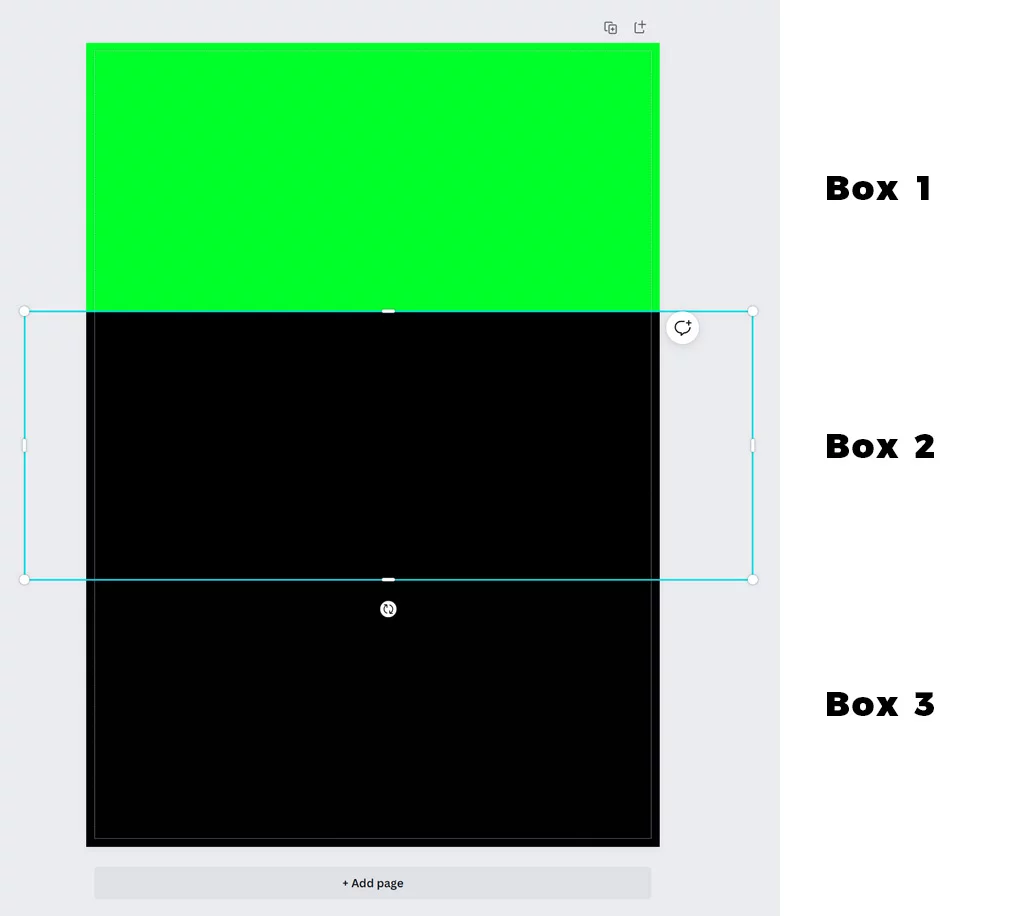
-
BOX 1: Neon green – with colour #00FF29
-
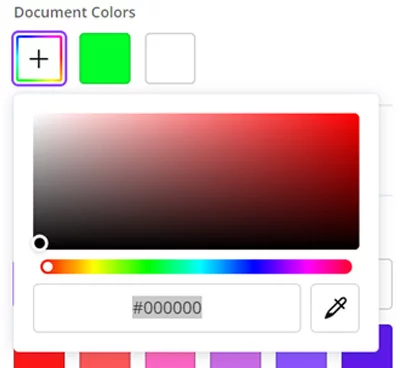
BOX 2: Black – with colour #000000
-
BOX 3: Rich Black – with colour #010001

- Select “PDF PRINT”
- Tick ‘crop marks and bleed’
- Tick ‘download’
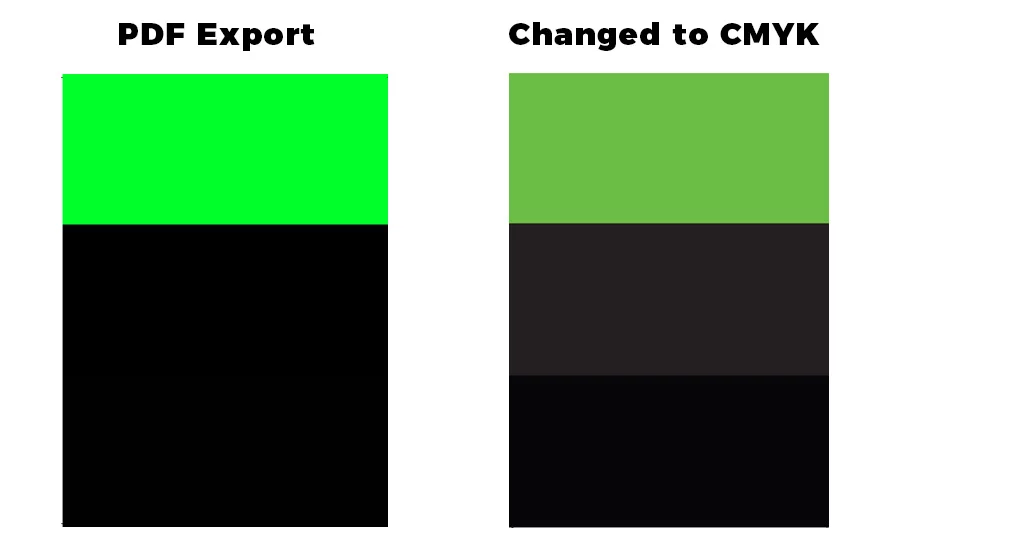
You will notice all looks OK in the PDF.. but from a print perspective, let’s have a closer look.
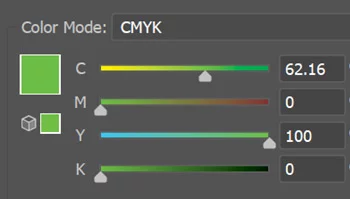
In Illustrator we changed the colour mode from RGB to CMYK (file > colour mode)- You can see BOX 1: neon green – looks vastly different. This is the colour it will print
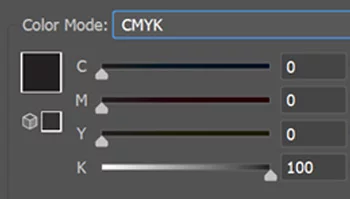
- You can see the differences of BOX 2 and BOX 3.
In the RGB, very little difference, in CMYK a slight but an important difference
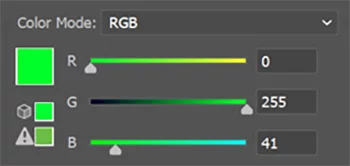
- Now let’s compare the RGB Values to the CMYK (print) values
- BOX 1: Neon Green
R = 0
G = 255
B = 41
When the document is converted from RGB to CMYK:
C = 62.16
M = 0
Y = 100
K = 0
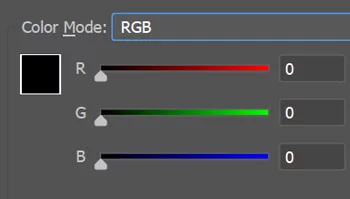
- BOX 2: Black
R = 0
G = 0
B = 0
When the document is converted from RGB to CMYK:
C = 0
M = 0
Y = 0
K = 100
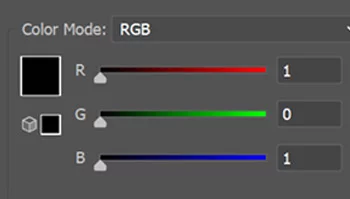
- BOX 3: Rich Black
R = 1
G = 0
B = 1
When the document is converted from RGB to CMYK:
C = 74.65
M = 68.3
Y = 66.38
K = 89.51
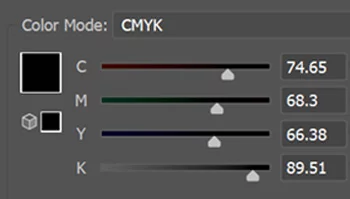
This print result for this will likely turn out a ‘muddy’ black.
For MOST of our products, the required CMYK values for ‘rich black ‘ needs to be:
C = 60
M = 50
Y = 50
K = 100
- BOX 1: Neon Green
So seeing as though Canva only supports RGB colours, how are you supposed to figure out how to make a ritch black?
Simply put you cannot.
This is because canva ONLY use the RGB colour profile.
You can test this yourself by using the CMYK to RGB conversion tool
- Add C = 60 | M = 50 | Y = 50 | K = 100
- Click the conversion button
For photos or illustrations, you can use online tools to convert from RGB to CMYK such as https://www.pdf2cmyk.com/
You can still use Canva to design, just keep in mind you will likely not be able to supply print ready artwork.Printing with Canva
You will notice Canva offers a printing service. First of all, ask yourself do they provide the detail as listed above? Where are the goods actually printed?
Do they offer phone support?
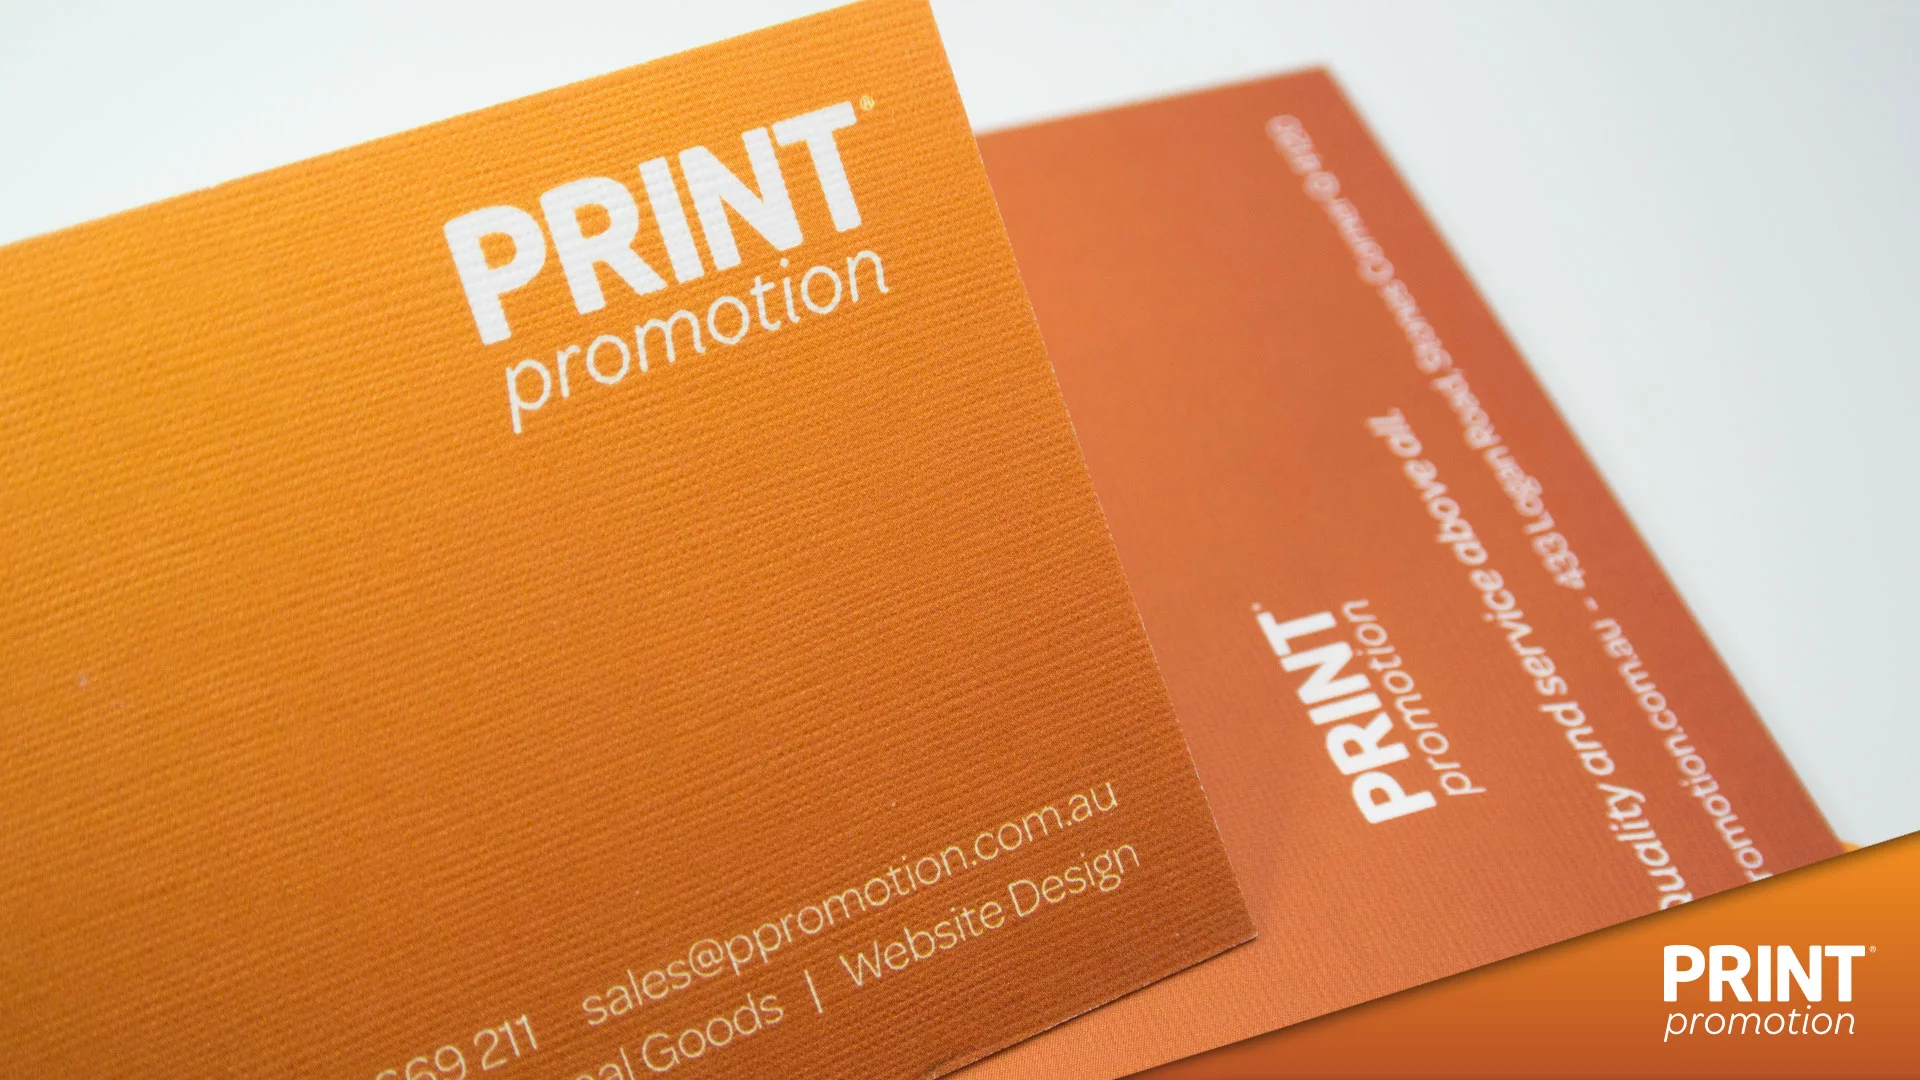
Print promotion offers piece of mind that your products will be professional printed. We also offer a class leading range of stock options for cards, flyers pamphlets and more.
Standard Stock Range
| Stock | Specs | Printing method | Image |
|---|---|---|---|
|
Gloss See flyers printing |
|
 Digital & Offset |
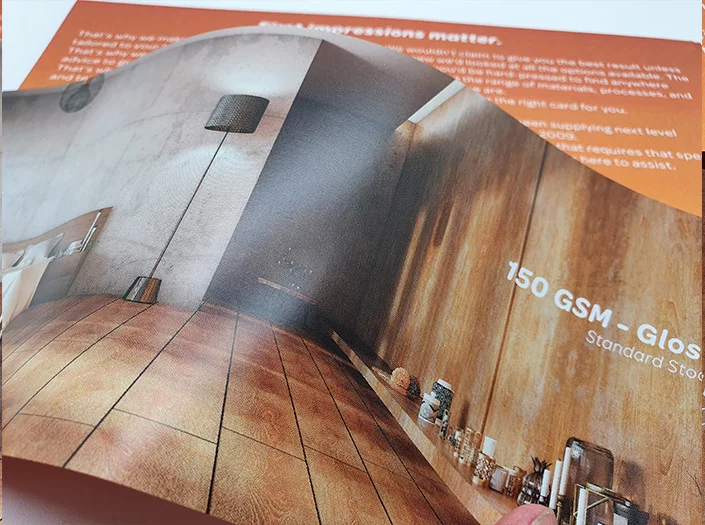
|
|
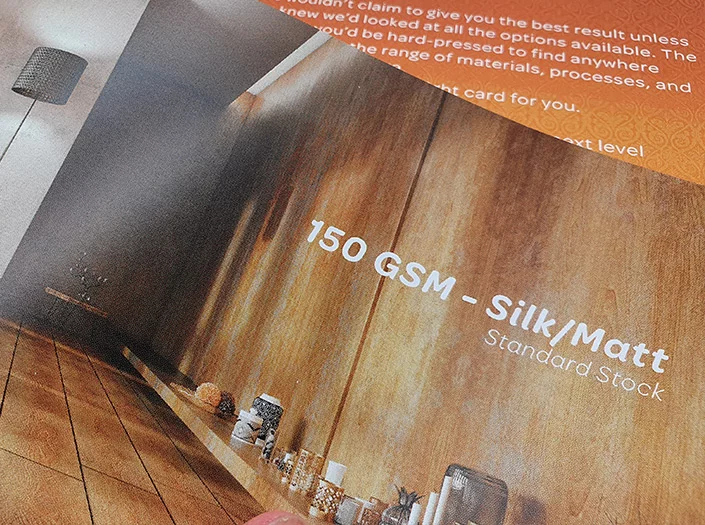
Silk Matt See flyers printing |
|
Digital & Offset |
|
|
Laser See flyers printing |
|
Digital & Offset |
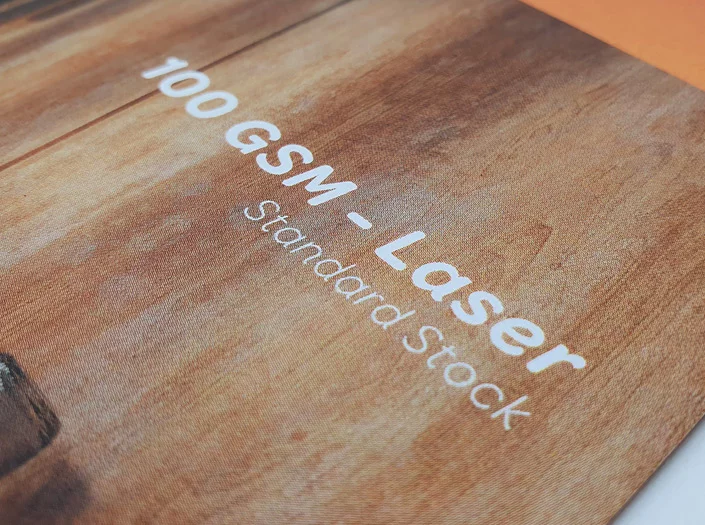
|
|
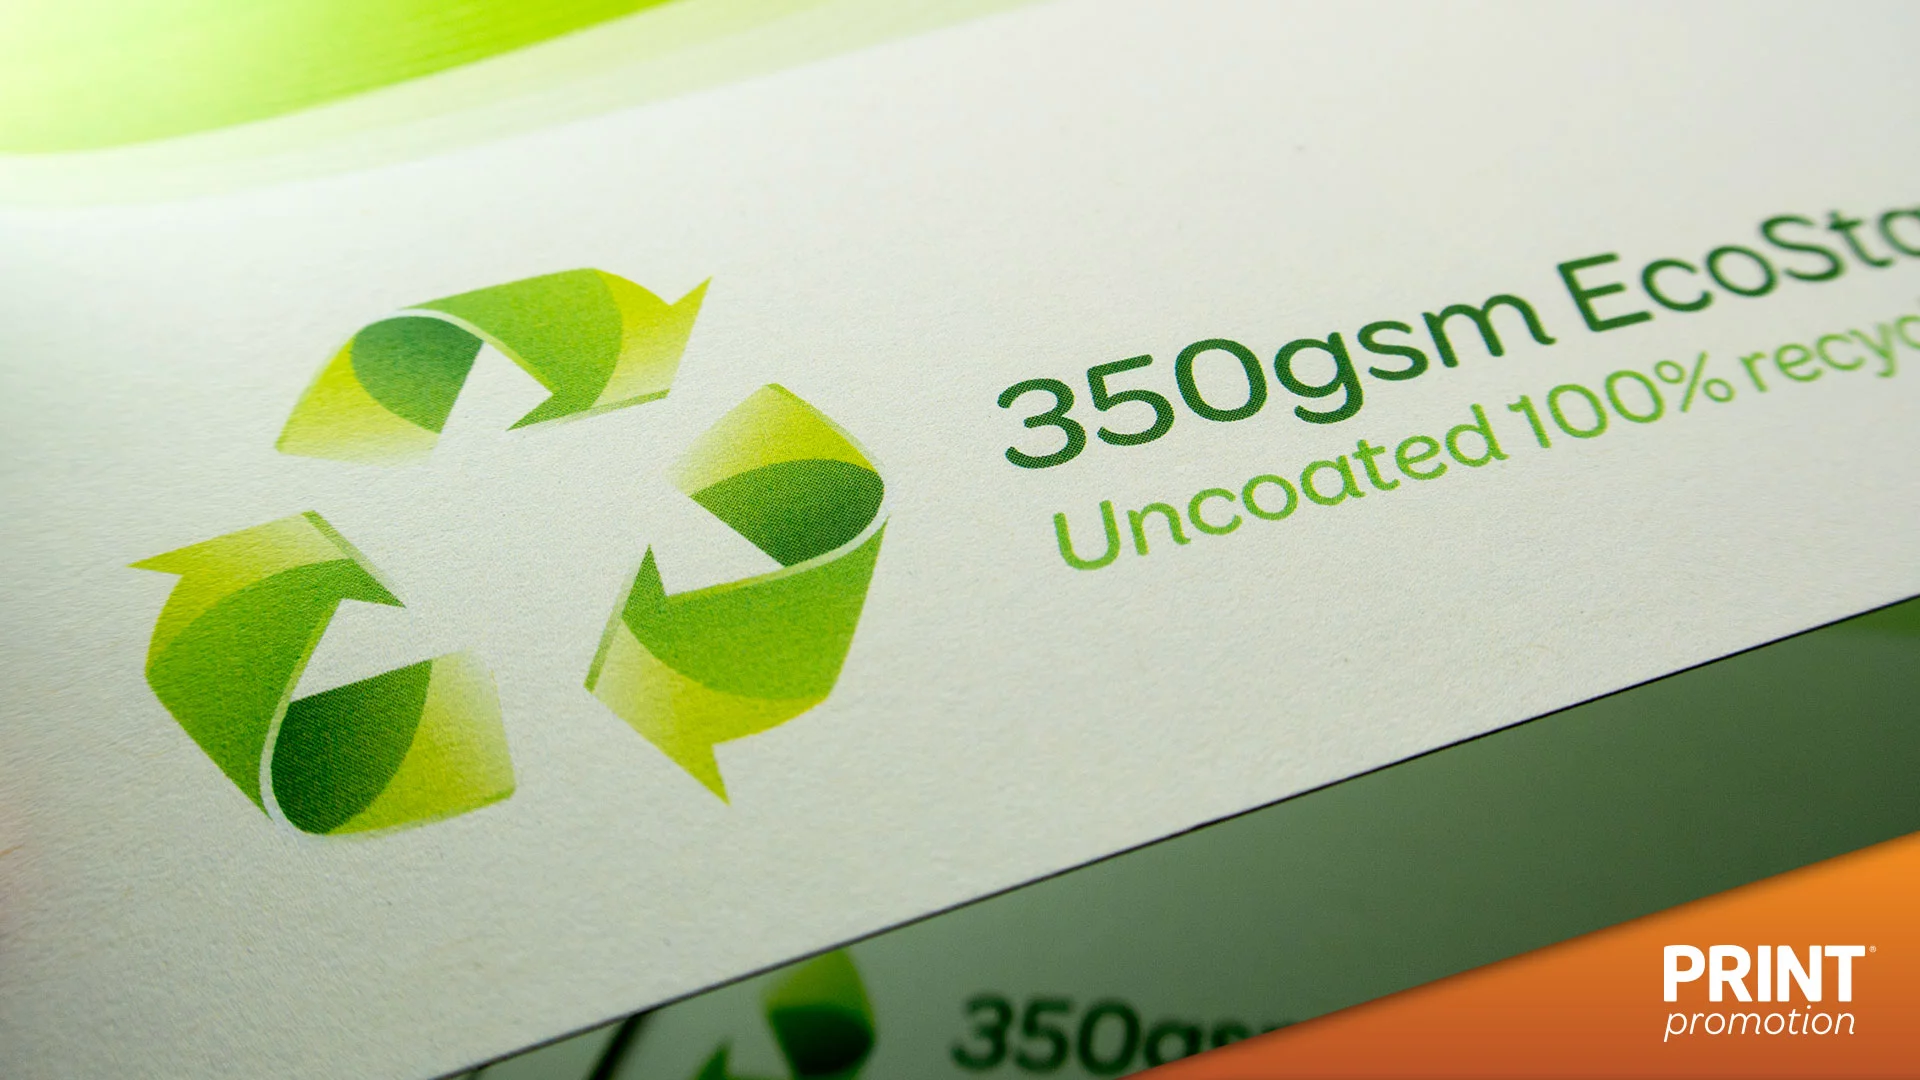
EcoStar Laser See flyers printing 
|
|
Digital & Offset |
|
|
EcoStar Silk See flyers printing
|
|
Digital & Offset |
|
|
Knight Premium Smooth See flyers printing |
|
Digital & Offset |
|
|
Artboard See flyers printing |
|
Digital & Offset |
|
|
1 side Coated Page coming soon |
|
Digital & Offset |

|
|
Linen See flyers printing |
|
Digital Only |
|
Uncoated Stock Range (for cards)
| Specs | Image: |
|---|---|
|
550gsm Premium Cotton Great for thick, high end business cards.
|
|
|
450gsm Craft Great for earthy business cards and packaging.
|
|
|
360gsm Numill Great for earthy business cards and packaging.
|
|
|
335-350gsm Textured Great for high end business cards.
|
|
|
350gsm Premium Great for standard thickness premium cards and flyers.
|
|
|
350gsm Linen Great for earthy business cards and flyers.
|
|
|
250gsm Recycled Great for earthy business cards and flyers.
|
|
|
350gsm Recycled Great for earthy business cards and flyers.
|
|
|
300gsm Recycled Great for earthy business cards and flyers.
|
|
300gsm Laid
|

|


Laminated Stock Range (for cards)
| Specs: | Image: |
|---|---|
450gsm Matt Velvet
|
|
350gsm Matt
|
|
In summary, for printers, Canva can be worse than Covid...
... but we have the knowhow to ensure you get the best possible results
If you want to make the most of your next print project,
give us a bell on 1300 669 211 to see what sets us apart.
Print with canva | prints | paper
designing with Canva for professional printing, paper type premium, products type premium paper, paper type deluxe, paper type standard, type standard paper, type deluxe paper, premium paper gsm, sea paper type, navy region availability, deluxe paper gsm, prints, business, photo, pro, clients, products, metal, canvas.
Servicing Australia and beyond.
Brisbane design, New Farm design, Teneriffe, Chandler, Ascot, Burbank. Hamilton, Bulimba, Brookfield, St Lucia, Chelmer,
Surfers Paradise.
Paradise Point, King Seaforth, Malvern, Middle Cove, Castlecrag. Claremont, Swanbourne, Castle Cove, Roseville, Mosman Park.
Balmain, Milsons Point, Kirribilli, Double Bay, Albert Park, Brighton, Berrimah, City Beach. Broadway, Nedlands, Crawley, Dalkeith.
Woollahra, Hunters Hill, Woolwich, Mosman, Portsea, Dover Heights, Vaucluse, Hawksburn, Toorak. Cottesloe, Peppermint Grove.
Bellevue Hill, St Andrews, Darling Point, Edgecliff. Northbridge, Ringwood, Eltham. Hawthorne, Greensborough, Camberwell, South Yarra, Byron Bay, Brunswick.
Print Promotion. We have been specialists in print finishing since 2009 and are happy to provide free consultation how to get the most
out your project. NO two jobs are the same, as no business is the same. As such each job should be treated with due process.
We offer first rate consultation to offer the right stock and the right finishing for your next upcoming job. The process is usually pretty quick once timeframe and budget is ascertained.
Further to this, we created this page to provide additional information regarding prepress – to ensure your artwork will turn out as intended. In addition, a comprehensive run down on all things print finishing – examples of how you can expect the product to turn out.
Who are we?
Print Promotion is a division of Arcane Media based in Brisbane, Queensland. We are a premium design and printing consultancy that specialises in creating or enhancing your visual corporate image. Our skilled team of seasoned graphic designers have the experience and marketing insight to ensure your image will effectively relate to your target demographic. We have an Australia-wide client base, servicing: hospitality and tourism; professional services; construction and trade; media; mining; recruitment; automotive; defence and the health business sectors.
Contact us today to discuss your next design or print project.
Call 1300 669 211
We design. We print. We deliver.
Chandler | Ascot | Burbank | Hamilton | Bulimba | Brookfield | St Lucia | Chelmer | Surfers Paradise | Paradise Point King | Seaforth | Malvern | Middle Cove | Castlecrag | Claremont | Swanbourne | Castle Cove | Roseville | Mosman Park | Balmain | Milsons Point | Kirribilli | Double Bay | Albert Park | Brighton | Berrimah | City Beach | Broadway Nedlands | Crawley | Dalkeith | Woollahra | Hunters Hill | Woolwich | Mosman | Dover Heights | Vaucluse | Hawksburn | Cottesloe | Peppermint Grove | Bellevue Hill | St Andrews | Darling Point | Edgecliff | Northbridge | Rindwood | Eltham | Greensborough | Camberwell | South Yarra | Byron Bay | Brunswick